How to Prevent Peeling and Cracking Paint on Your Home’s Exterior

How to Prevent Peeling and Cracking Paint on Your Home’s Exterior
Peeling and cracking paint isn’t just an eyesore—it’s a warning sign. It means your home’s exterior isn’t properly protected. Left unchecked, damaged paint can expose your siding to moisture, mold, and even structural issues.
The good news? Preventing peeling and cracking paint is easier than you think. With the right prep, materials, and maintenance, your home’s exterior can stay fresh, vibrant, and well-protected for years. Let’s break down the key steps to keeping your paint job in top shape.
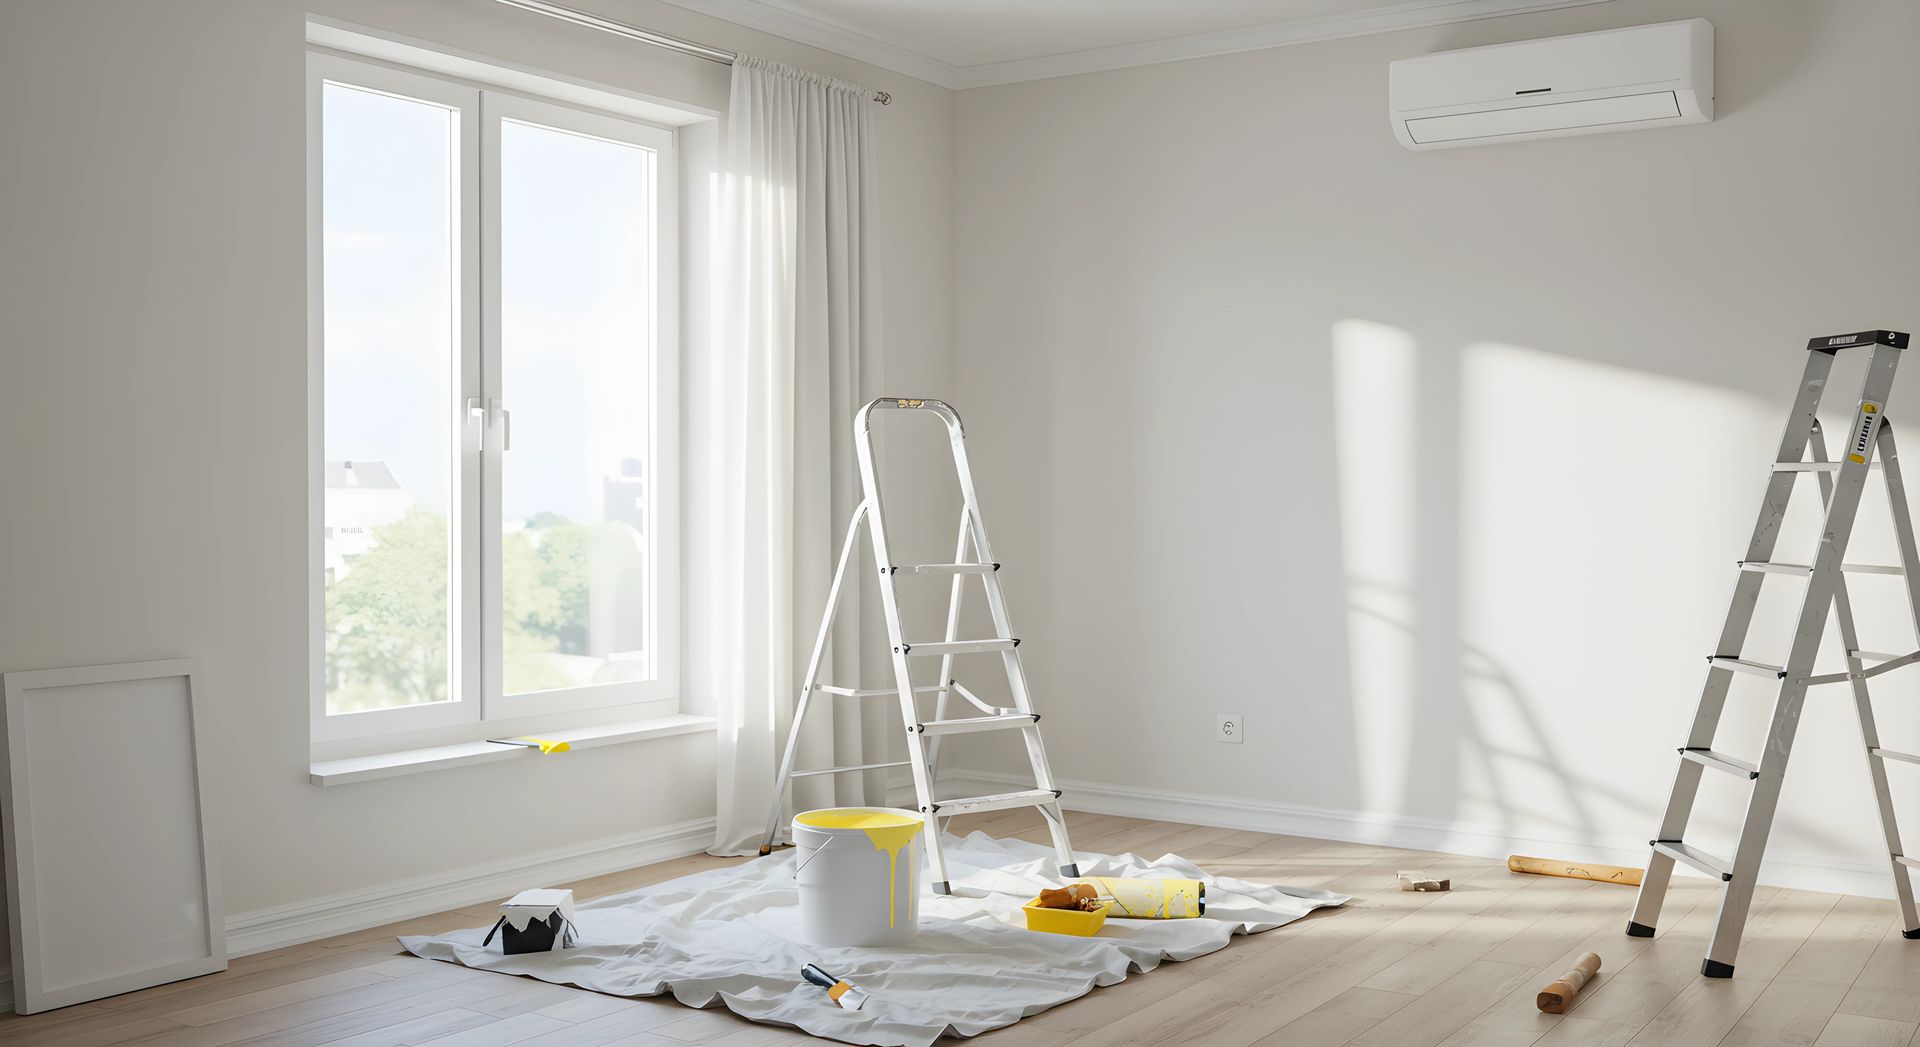
1. Start with Proper Surface Preparation
Paint doesn’t stick well to dirty, flaky, or damp surfaces. If you don’t prep correctly, you’re practically inviting peeling and cracking.
Here’s how to prep like a pro before painting:
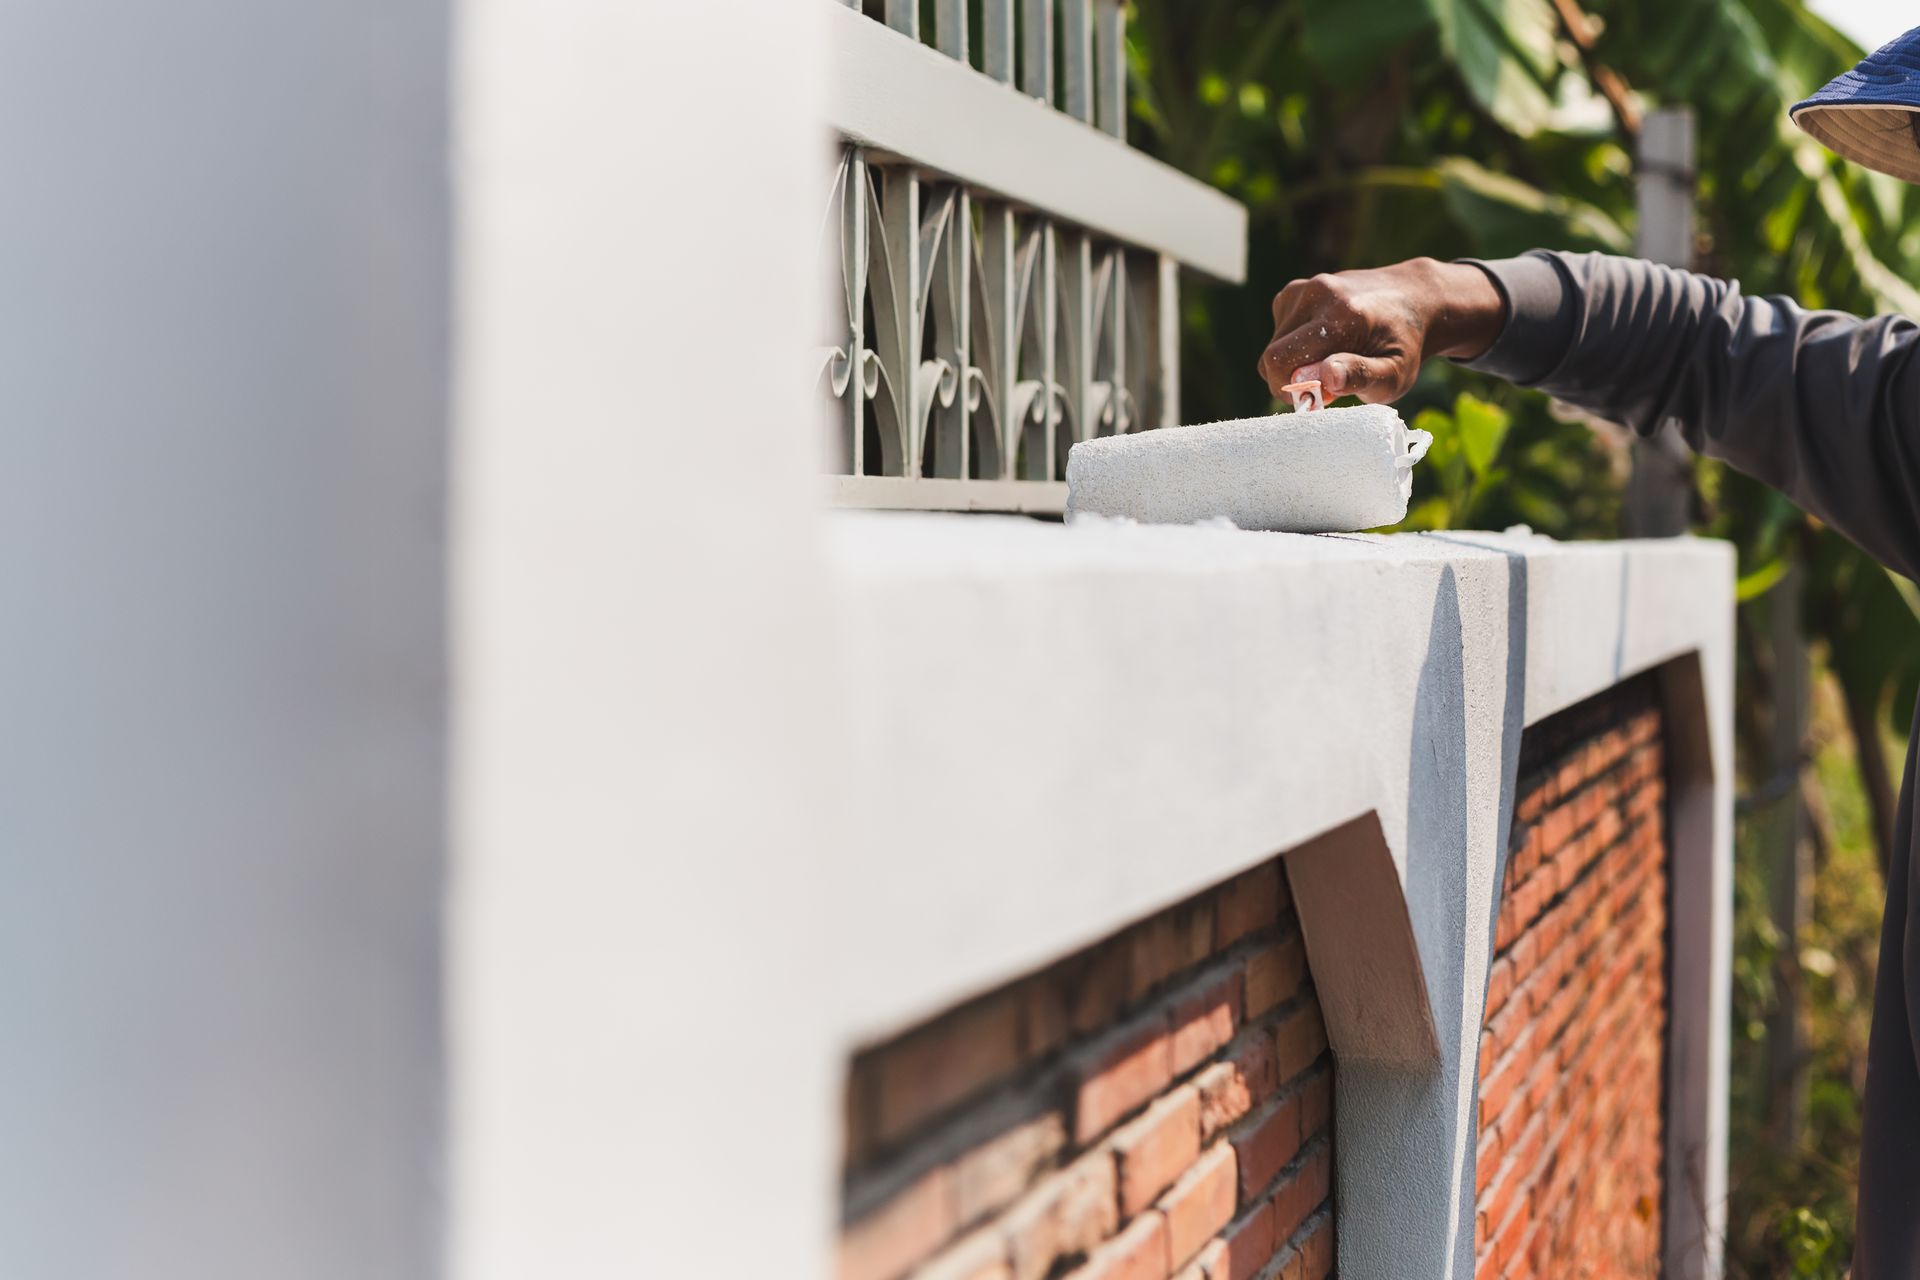
Clean the Surface – Dirt, mildew, and old paint residue weaken adhesion. Use a pressure washer or a scrub brush with a mild detergent to remove grime. Allow the surface to dry comletely before moving on to the next step. Scrape and Sand – Flaking paint needs to go. Scrape off loose paint, then smooth the surface with sanding to ensure an even base for the new coat.
Repair Damage – Cracks, holes, and rotting wood will only worsen over time. Fill gaps with exterior-grade caulk and replace damaged siding or trim.
Prime Before Painting – A quality primer seals the surface, improves adhesion, and extends the life of your paint. Don’t skip this step—it’s what separates a lasting paint job from one that fails in a year.
2. Choose the Right Paint and Primer
Not all paints are created equal. The type and quality of paint you choose directly impact how well it resists peeling and cracking.
Opt for High-Quality Exterior Paint – Look for 100% acrylic latex paint. It’s flexible, durable, and stands up well to changing temperatures and moisture.
Use the Right Primer – Oil-based or bonding primers work best for wood surfaces, while masonry requires a specialized primer for proper adhesion.
Check for UV and Weather Resistance – If your home faces intense sunlight or severe weather conditions, pick a paint designed to withstand these conditions.
Spending a little more on high-quality paint now saves you from expensive touch-ups later.
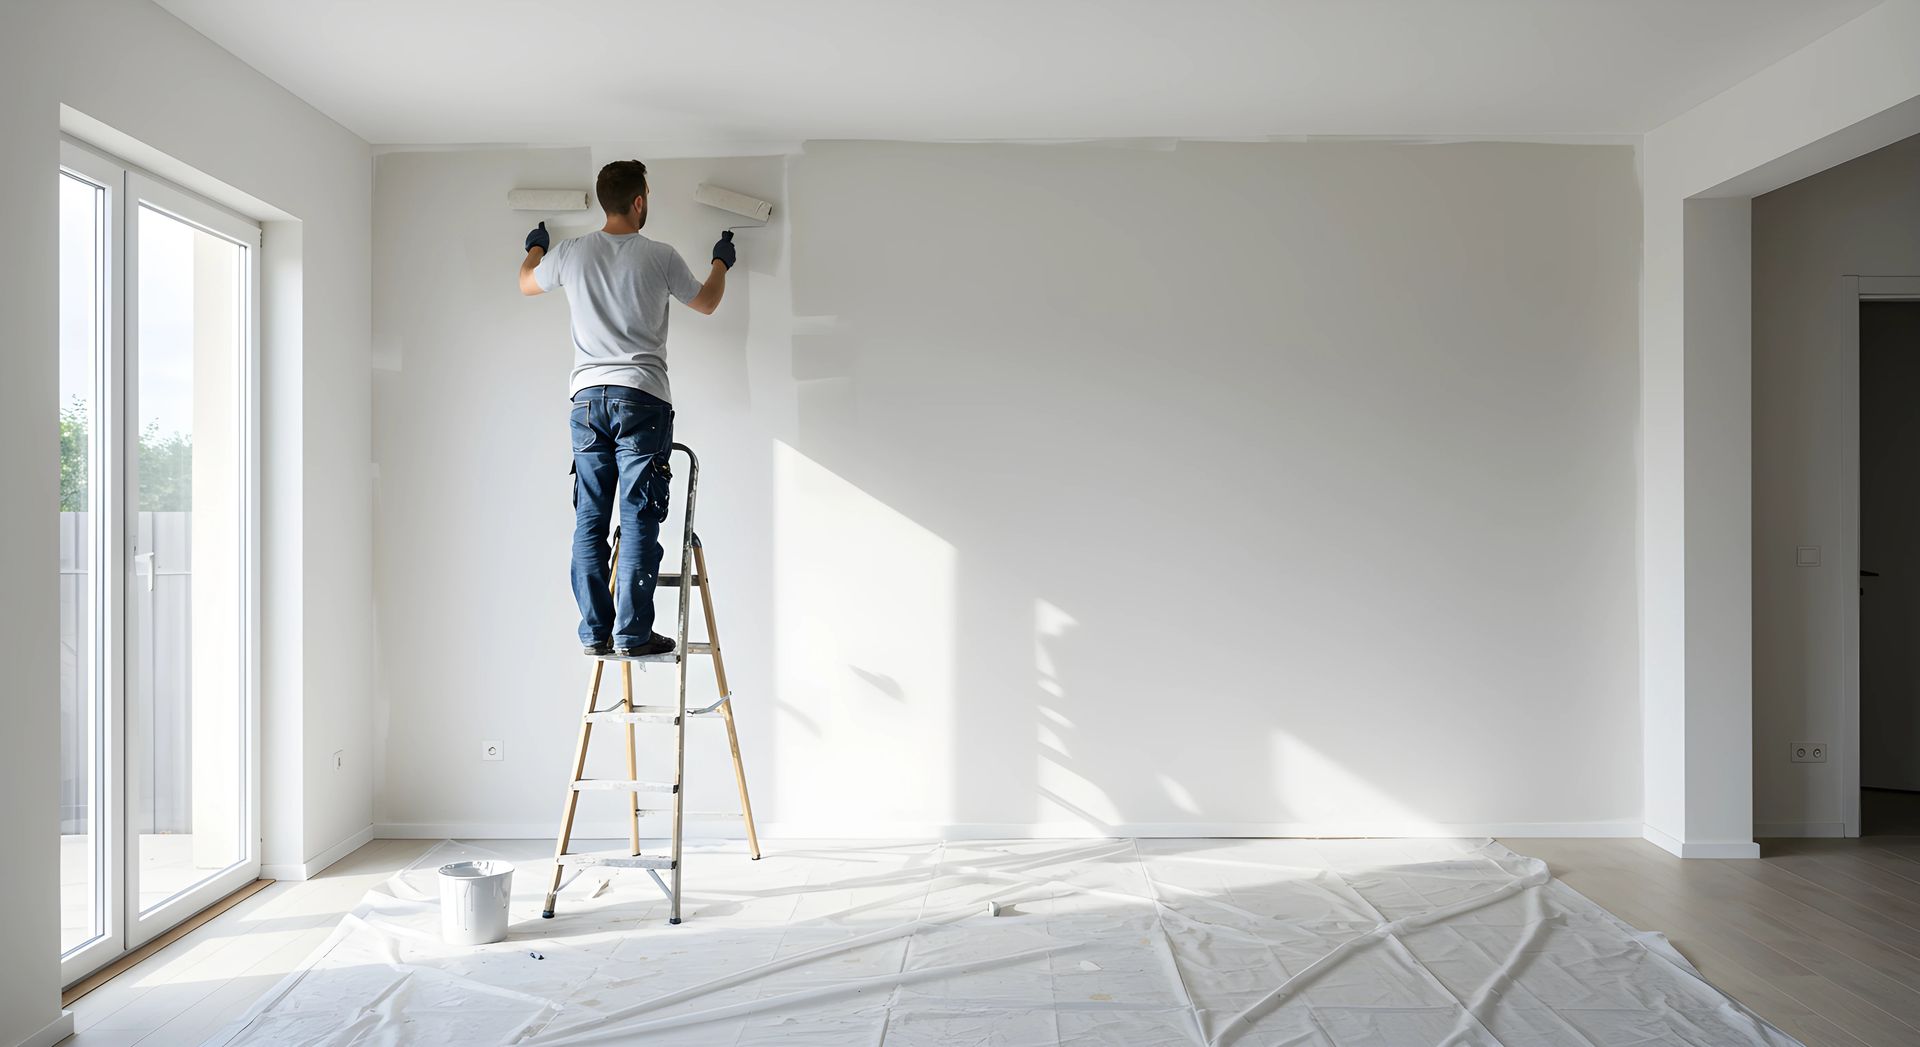
3. Apply Paint the Right Way
Even the best paint won’t last if it’s applied incorrectly. Here’s how to ensure maximum durability:
Paint in the Right Conditions – Avoid painting in extreme heat, direct sunlight, or when rain is expected. The best painting conditions are between 50°F and 85°F with low humidity.
Use the Right Tools – Brushes, rollers, and sprayers all have their place. A brush works best for trim and edges, while a sprayer or roller covers large surfaces efficiently.
Apply Multiple Thin Coats – Thick layers dry unevenly and are more likely to crack. Two thin coats provide better coverage and long-term durability.
Seal Edges and Joints – Pay extra attention to corners, window frames, and doorways. These areas are prone to peeling, so make sure they’re well-sealed with paint and caulk.
4. Maintain Your Paint Job Regularly
Even the best paint job needs occasional upkeep. Small maintenance steps can add years to your exterior paint’s lifespan.
Inspect Annually – Look for signs of cracking, bubbling, or peeling. Catching problems early means easier, cheaper fixes.
Clean Your Exterior – Dirt, pollen, and mold can degrade paint over time. Rinse your home once or twice a year with a pressure washer on a low setting or a garden hose.
Touch Up When Needed – Small chips or cracks? Don’t ignore them. A quick touch-up can prevent widespread peeling and extend the life of your paint.
5. Address Moisture Issues
Water is one of paint’s biggest enemies. If moisture gets trapped under the paint, it will cause bubbling, peeling, and decay.
Check for Leaks – Gutters, downspouts, and roofing issues can lead to water damage. Fix leaks immediately to protect your home’s exterior.
Trim Overgrown Vegetation – Bushes and trees that press against your siding trap moisture and reduce airflow. Keep plants trimmed back to allow for proper drying.
Ensure Proper Ventilation – Poor attic ventilation can lead to trapped humidity, which weakens paint from the inside out. Make sure vents are clear and working efficiently.
Final Thoughts: Invest in Long-Lasting Protection
A beautiful, long-lasting paint job isn’t just about aesthetics—it protects your home from the elements. Proper preparation, high-quality materials, correct application, and regular maintenance help prevent peeling and cracking before it begins.
Looking for a flawless finish? Hiring professionals saves you time, effort, and hassle. Get in touch today for expert exterior painting that lasts!