Blog

See the top color trends Wellington homeowners are choosing in 2025! Stay HOA-compliant while boosting curb appeal with expert tips and combos that work.
Painting in a Wellington HOA? Learn expert tips for choosing colors, getting approvals, and staying compliant. Smart advice from local painting pros.
Sell faster and for more. See how professional interior and exterior painting boosts your home's resale value — fast, affordable, and high ROI.

Get rid of strong paint smells fast with expert tips on ventilation, odor absorbers, and more. Breathe easier after your interior paint job.
Is It Cheaper to Paint or Replace Kitchen Cabinets? “The kitchen is the heart of the home—but a full remodel doesn’t have to drain your wallet.” If you’ve looked at your cabinets lately and thought, “Ugh, these need help,” you’re not alone. One of the most common questions homeowners ask during a kitchen refresh is whether they should paint or replace their cabinets altogether. Let’s break this down, dollar by dollar—and give you the insights you need to make the smartest move for your space and your budget. The Cost Breakdown Painting Cabinets: ✅ $2,000–$5,000 on average for a standard-sized kitchen (depending on number of doors, prep required, and quality of materials). ✅ Minimal demo, no plumbing or layout changes. ✅ Turnaround? Often 3–5 days. Replacing Cabinets: ❌ $8,000–$25,000+ depending on whether you go with stock, semi-custom, or fully custom cabinets. ❌ Often requires changes to countertops, electrical, and sometimes flooring. ❌ Timeline? Easily 2–6 weeks, or more. 💡 Bottom line: Painting is typically 60–80% cheaper than replacing. When Painting Makes Sense You should consider painting if: The cabinet boxes are sturdy and structurally sound. You like your current kitchen layout. You want a fresh look without a massive investment. You’re prepping your home for resale and want a quick value boost. A professional paint job can completely transform dated oak or builder-grade cabinets into a clean, modern showpiece. Think crisp white, deep navy, or charcoal gray. Add new hardware and it’ll look like you spent five figures—when you didn’t. When Replacement Is Worth It On the flip side, replacing may be the better move if: Your cabinets are warped, moldy, broken, or falling off the hinges. You’re planning a full kitchen remodel (like relocating appliances or changing the layout). You’re dreaming of features like soft-close drawers, pull-out trays, or custom inserts. If your current cabinets are beyond saving or function poorly, no amount of paint will make them right. That’s when starting fresh is the smarter long-term investment. Still Torn? Try a Hybrid Approach Here’s a tip: Refacing or partial replacement is a middle-ground option. Keep the boxes, replace only the doors and drawer fronts, and add a fresh coat of paint or veneer. You’ll save 30–50% compared to full replacement while still getting a totally new look. Wellington, FL Homeowners—Let’s Talk Real Numbers In our local market (Wellington and Palm Beach County), painting kitchen cabinets professionally is often one of the most high-impact, low-cost kitchen improvements you can do without ripping it apart. Most of our clients are surprised by how polished and durable the results are—and how fast the turnaround is. If your cabinets are in decent shape, don’t spend $15k when $3k - $5k will do the trick. Final Thoughts If your goal is to update the look of your kitchen without blowing your budget, painting your cabinets is the clear winner. It’s faster, more affordable, and gives you serious bang for your buck. But if your cabinets are falling apart or you're planning a complete kitchen overhaul, replacement may be the smarter play. Need help deciding? Let’s take a look together. Our team offers free estimates, honest advice, and professional cabinet painting services that make your kitchen look brand new—without the remodel price tag.
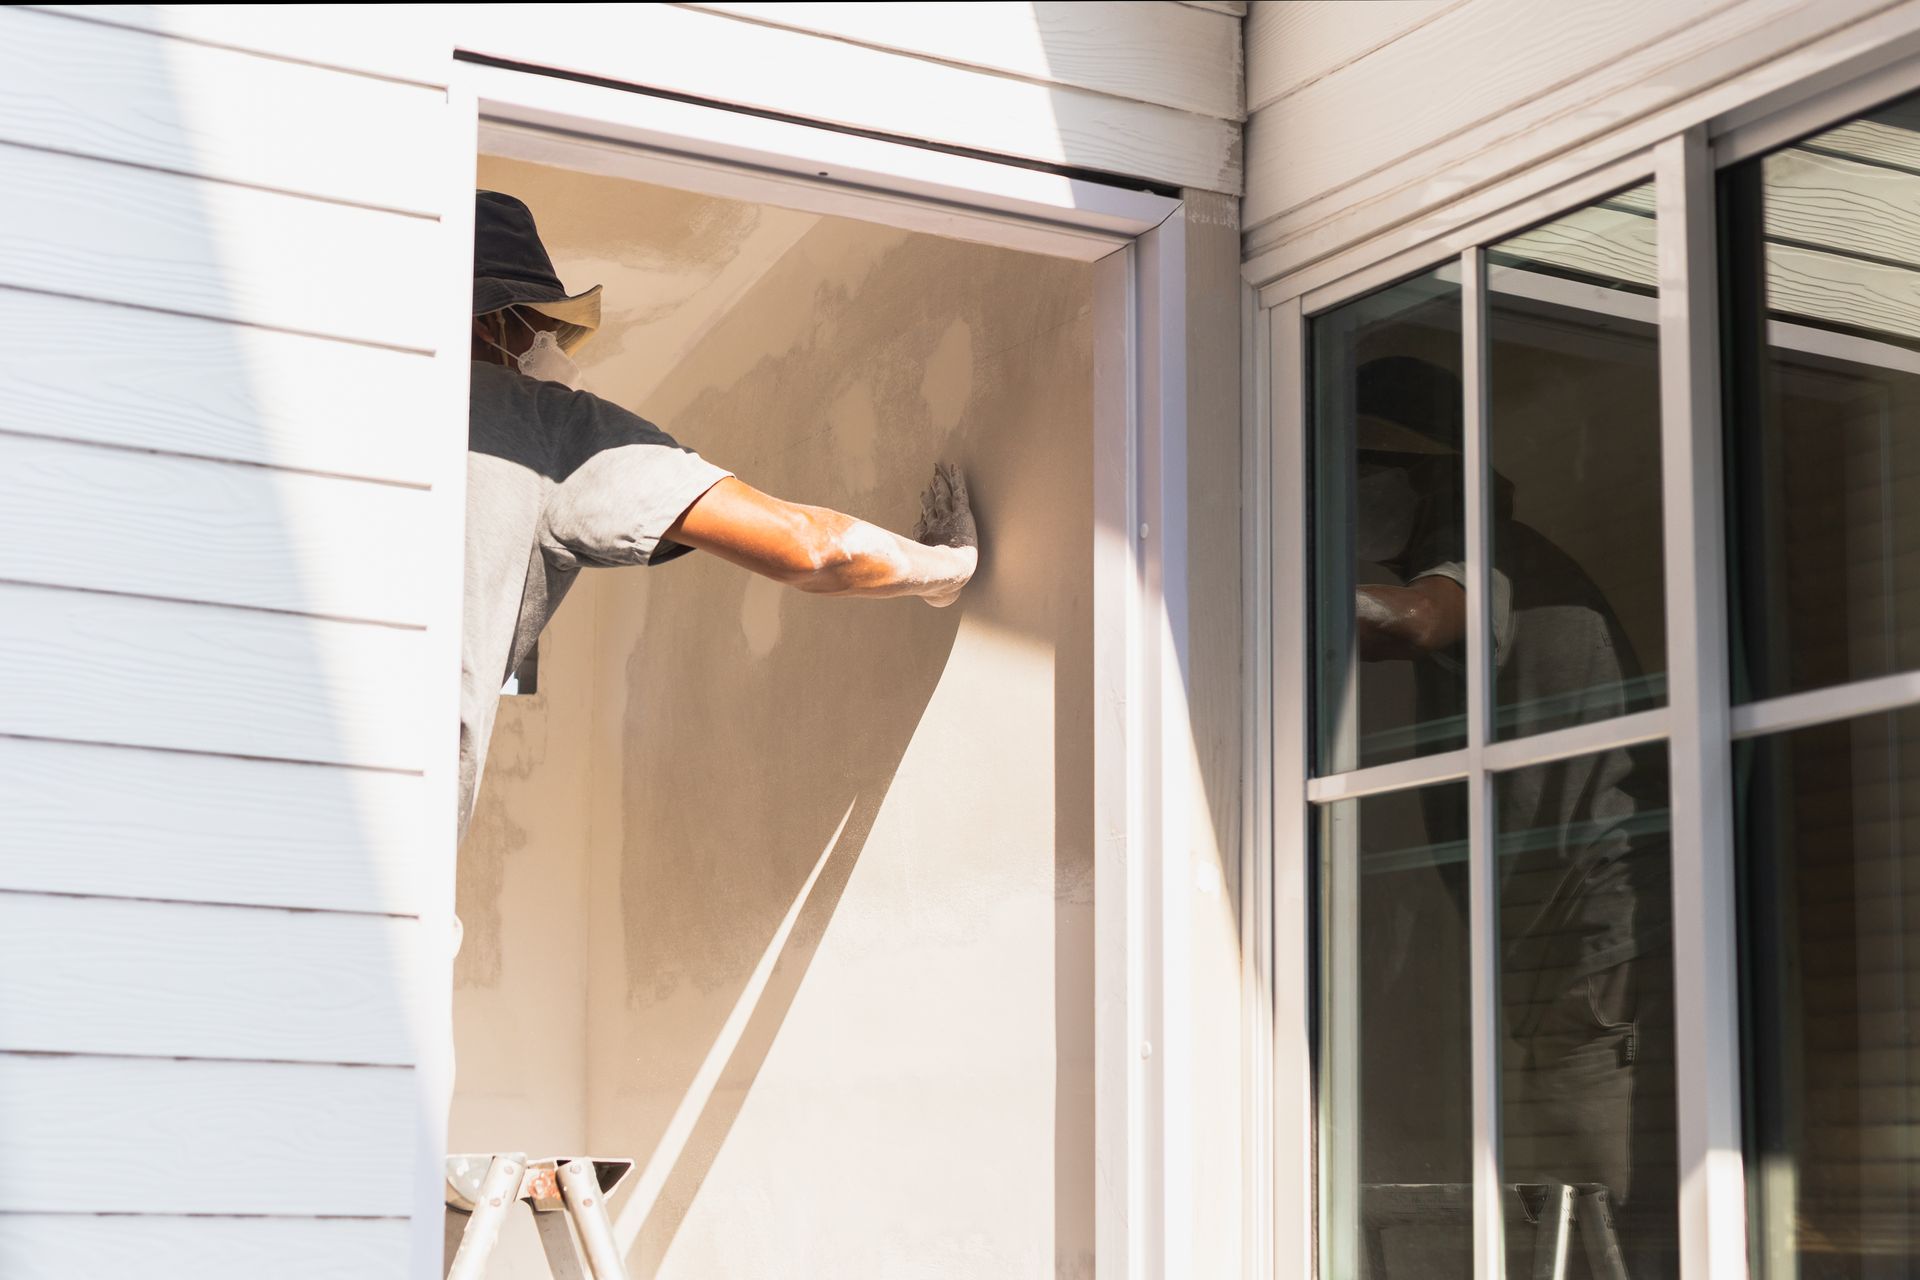
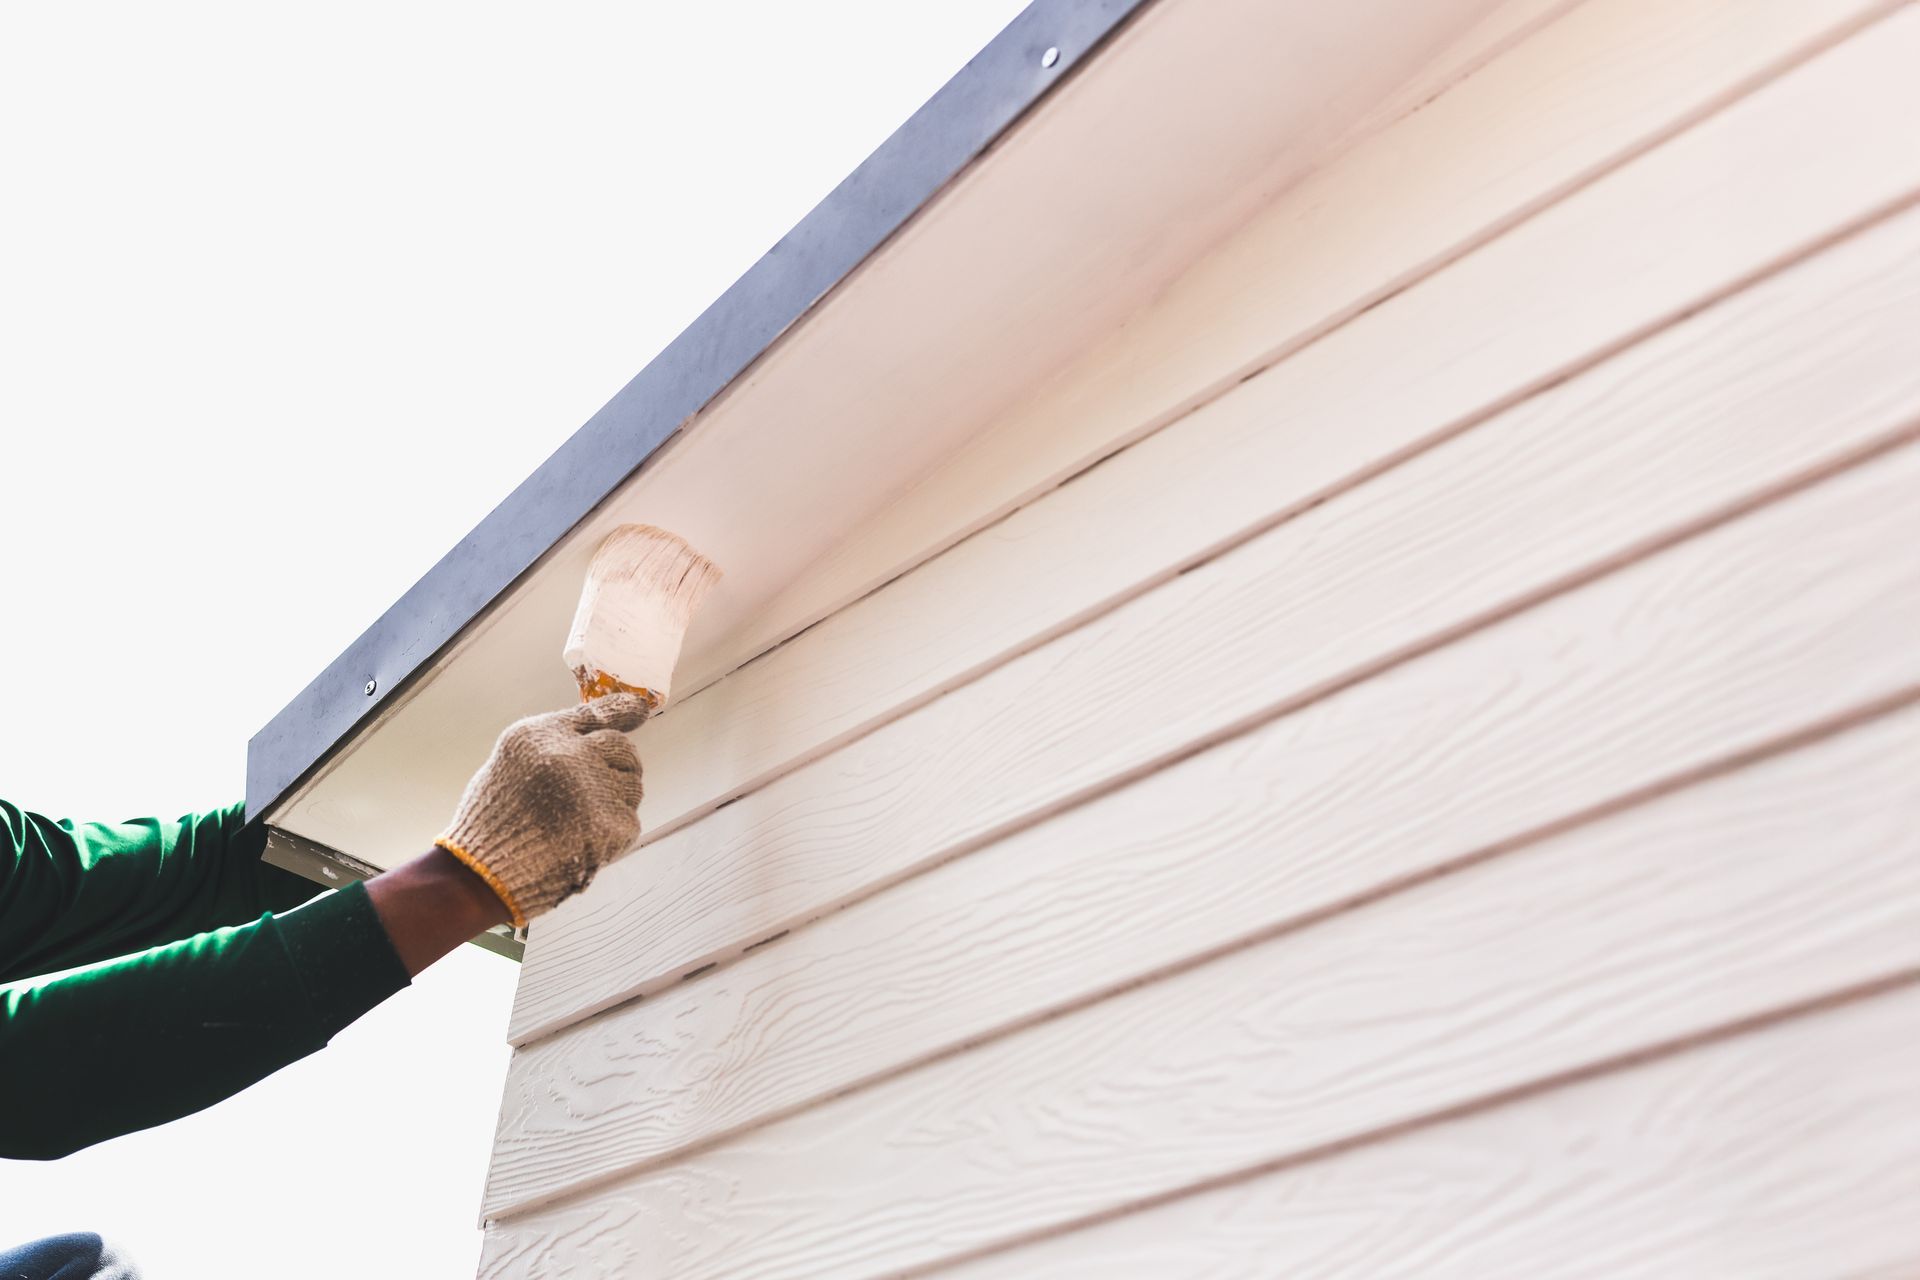
Best Time of Year to Paint a House in Wellington, FL "Humidity is the enemy of a perfect paint job." That quote could be the unofficial motto for anyone painting homes in South Florida. And in Wellington, FL, where rain and sun love to battle it out year-round, timing your paint project is more than a minor detail. It can make or break your results. Let’s talk strategy. Because if you’re spending money to boost curb appeal or refresh your interiors, you want that paint job to last—and look good doing it. Why Timing Matters in Florida In a state where afternoon downpours can show up uninvited and the humidity rarely takes a day off, painting is about more than picking a color. It’s about choosing the right window of time when the weather works with you, not against you. Paint needs time to dry. Proper adhesion. Long-lasting finish. All of that depends on predictable weather. And in Florida? Predictability is in short supply during some seasons. Best Time to Paint Exterior Surfaces in Wellington Late fall through early spring—roughly November through April—is the sweet spot for exterior painting in Wellington. Why? Lower humidity: Cooler, drier air gives paint time to cure properly. Less rain: Florida’s rainy season typically runs from May through October. Avoid it. Comfortable temperatures: Most paints perform best between 50°F and 85°F. These months hit the mark. Avoid summer unless you're prepared to gamble with pop-up thunderstorms and blistering midday heat. Paint can dry too fast on hot surfaces, leading to cracking, bubbling, and premature wear. Interior Painting? More Flexibility Good news! Interior painting isn’t as weather-sensitive. With the right ventilation and indoor climate control, you can paint inside your home year-round. That said, consider these perks to painting your interior during the off-season (summer): Contractor availability: Many pros are busier with exteriors in fall and spring. Indoor focus: Too hot to be outside? Perfect time to spruce up your living room. Potential savings: Some companies offer off-season discounts. Tips for Planning Your Project Whether you’re painting inside or out, these tips will help you time it right: Check the extended forecast. Look for 2-3 days of clear, dry weather. Avoid extreme temps. Anything below 50°F or above 90°F can cause issues. Watch humidity levels. Ideal humidity is under 60% for exteriors. Book early. Peak season fills up fast. Secure your spot with a trusted painter well in advance. Final Thoughts Painting your home in Wellington isn’t just about color—it’s about timing. Want that fresh coat to stand the test of time? Plan for the dry season, work with the weather, and lean on experienced pros who know how Florida’s climate plays into the process. At Hometown Wellington House Painting, we know the drill. We’ve helped hundreds of homeowners time their projects just right. Reach out for a free consultation—we’ll walk you through the best time to paint your home based on its unique conditions. Let’s get it done the right way—on your schedule and Florida’s terms!
How Much Does It Cost to Paint a House in Wellington, FL? (Interior & Exterior Breakdown) "Even a simple repaint can make your home feel brand new—inside and out." That’s not just a line. In Wellington, FL, where weather, wear and tear, and style updates all play a role, painting your home is one of the most cost-effective ways to boost curb appeal and value. But let’s get to the question everyone wants answered: how much is this really going to cost? Whether you're sprucing up the interior or tackling the full exterior, this guide breaks it all down so you can budget smart and avoid surprises. Interior House Painting Costs in Wellington, FL For the interior, pricing depends on the square footage, surface conditions, prep work, and the type of paint you choose. General interior painting cost range: Small condo or apartment (800-1,200 sq. ft.): $2,000 - $3,500 Standard 3-bedroom home (1,500-2,500 sq. ft.): $3,500 - $6,500 Larger homes (3,000+ sq. ft.): $6,500 - $10,000 or more What affects interior costs? Wall condition: Holes, cracks, or textured surfaces may need patching or extra prep. Paint quality: Higher-end paints last longer and resist fading—but they come at a higher cost. Color changes: If you're going from dark to light (or vice versa), expect multiple coats. Ceilings and trim: Adding these raises the price but makes a big visual difference. Pro Tip: Want to save money? Repaint high-impact areas like kitchens, bathrooms, and entryways instead of the entire interior. Exterior House Painting Costs in Wellington, FL Thanks to Wellington's humidity and sunshine, the exterior of your home needs a durable paint job that can stand up to the elements. General exterior painting cost range: Single-story home: $2,500 - $4,500 Two-story home: $4,500 - $7,500 Larger homes or homes with detailed trim/siding: $7,500+ What affects exterior costs? Height and access: Two-story homes or those with steep roofs may require scaffolding. Material type: Stucco, wood, and vinyl each require different prep and application. Surface prep: Power washing, scraping, sanding, and priming are crucial in Florida's climate. Paint type: Elastomeric or weather-resistant paints cost more but hold up better. Pro Tip: Consider repainting every 5-7 years to protect your exterior and prevent costly repairs down the road. Additional Services to Consider Color consultation: Some companies offer this service to help you choose a color palette that fits your style. Cabinet painting or refinishing: A more affordable option than replacing cabinets. Popcorn ceiling removal: If you're already painting, this is the perfect time to upgrade your ceilings. Why Hire a Professional in Wellington? Sure, DIY might seem tempting—until you factor in time, tools, cleanup, and the risk of streaky walls. Local professionals understand the specific challenges of painting in South Florida. From knowing which primers work best in humidity to choosing mold-resistant coatings, a good painter can make all the difference. At Hometown Wellington House Painting, we bring years of experience, honest pricing, and reliable results. We’ll help you choose the right paint, prep your surfaces properly, and leave your home looking incredible. Final Thoughts Painting your home doesn’t have to be a guessing game. With the right information and the right team, you can get the results you want—on time and within budget. Ready to give your home a fresh look? Get in touch with our Wellington-based team for a free, no-pressure estimate today. Let’s turn your vision into a reality—one brushstroke at a time!
Do I Need a Permit to Paint My House in Wellington, FL? A fresh coat of paint can completely change how your home feels. It’s one of the quickest and most cost-effective ways to boost curb appeal. But before you run off to pick your new favorite shade of blue—or beige—you may be wondering, “Do I need a permit to paint my house in Wellington, FL?” Let’s clear up the confusion. In Most Cases, No Permit Is Needed Good news! If you're simply painting the exterior of your home in Wellington and not making any structural changes, you likely won’t need a building permit . The Village of Wellington and Palm Beach County categorize exterior painting as general maintenance, which doesn’t fall under permit requirements for single-family homes. But—and this is important—just because a permit isn’t required doesn’t mean you can paint whatever, however, or whenever you want. Where You Might Hit a Roadblock: HOAs and Color Restrictions Wellington is full of HOA-governed communities. And those HOAs? They usually have a say in what color you can paint your home. Some neighborhoods are extremely strict—right down to the shade. Others give more flexibility, but still require written approval before you break out the roller brush. 💡 Pro tip : Always check with your HOA first. Skipping this step could mean repainting your home (again) on your dime. Special Cases Where Permits Might Be Required There are a few situations where painting your house might fall into a “permit-required” zone: You're painting in a historic or protected district. Some older areas have specific preservation rules that apply to color palettes or exterior finishes. You’re adding texture or a specialty finish that requires construction. For example, applying stucco or making repairs to siding before painting might trigger the need for a permit. You’re painting a commercial building or multi-unit property. Different rules may apply for business or rental properties. Always check with the Wellington Building Department just to be safe. How to Stay in the Clear If you want to avoid delays—or a call from your HOA board—follow these steps before getting started: ✅ Step 1: Contact Your HOA Ask for the latest guidelines. They may require submission of a color swatch or project plan. Get written approval, not just a verbal “go ahead.” ✅ Step 2: Check with the Village of Wellington For anything outside the scope of simple repainting (like structural repairs or painting on a commercial property), reach out to the Planning, Zoning, and Building Department . You can visit wellingtonfl.gov or call them directly to clarify. ✅ Step 3: Hire Professionals Who Know the Rules If you're hiring a painting contractor , make sure they’re familiar with Wellington’s guidelines. A licensed, experienced crew will already know what’s allowed—and what will get flagged. Bottom Line No, you probably don’t need a permit to paint your house in Wellington, FL. But that doesn’t mean it’s a free-for-all. Between HOA restrictions, special zoning areas, and potential structural work, it’s always smart to double-check before diving in. A little planning up front means no headaches later. And when done right, painting your home can boost value, improve curb appeal, and make your house feel like new again. Need help choosing the right exterior paint or want a professional team to handle the job? We’ve helped dozens of Wellington homeowners navigate the painting process smoothly. Give us a call and let’s talk about your project!
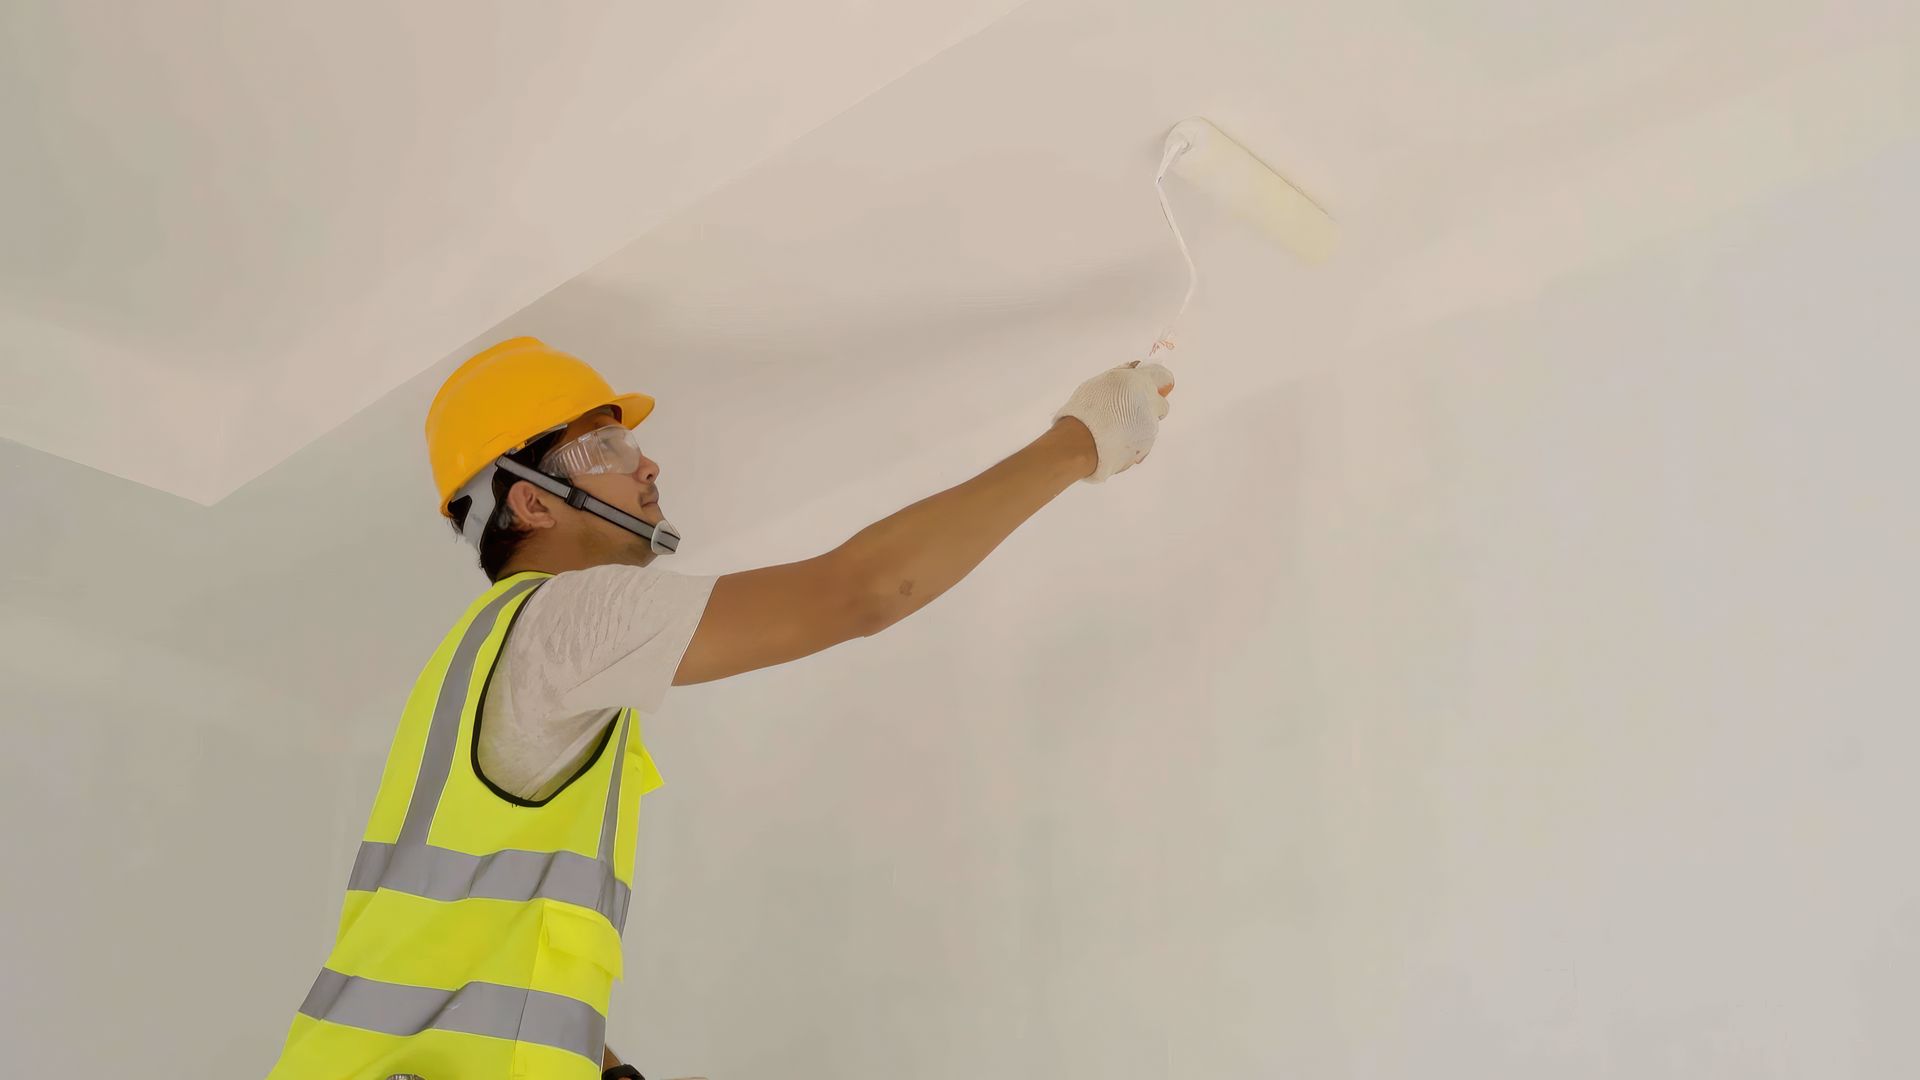
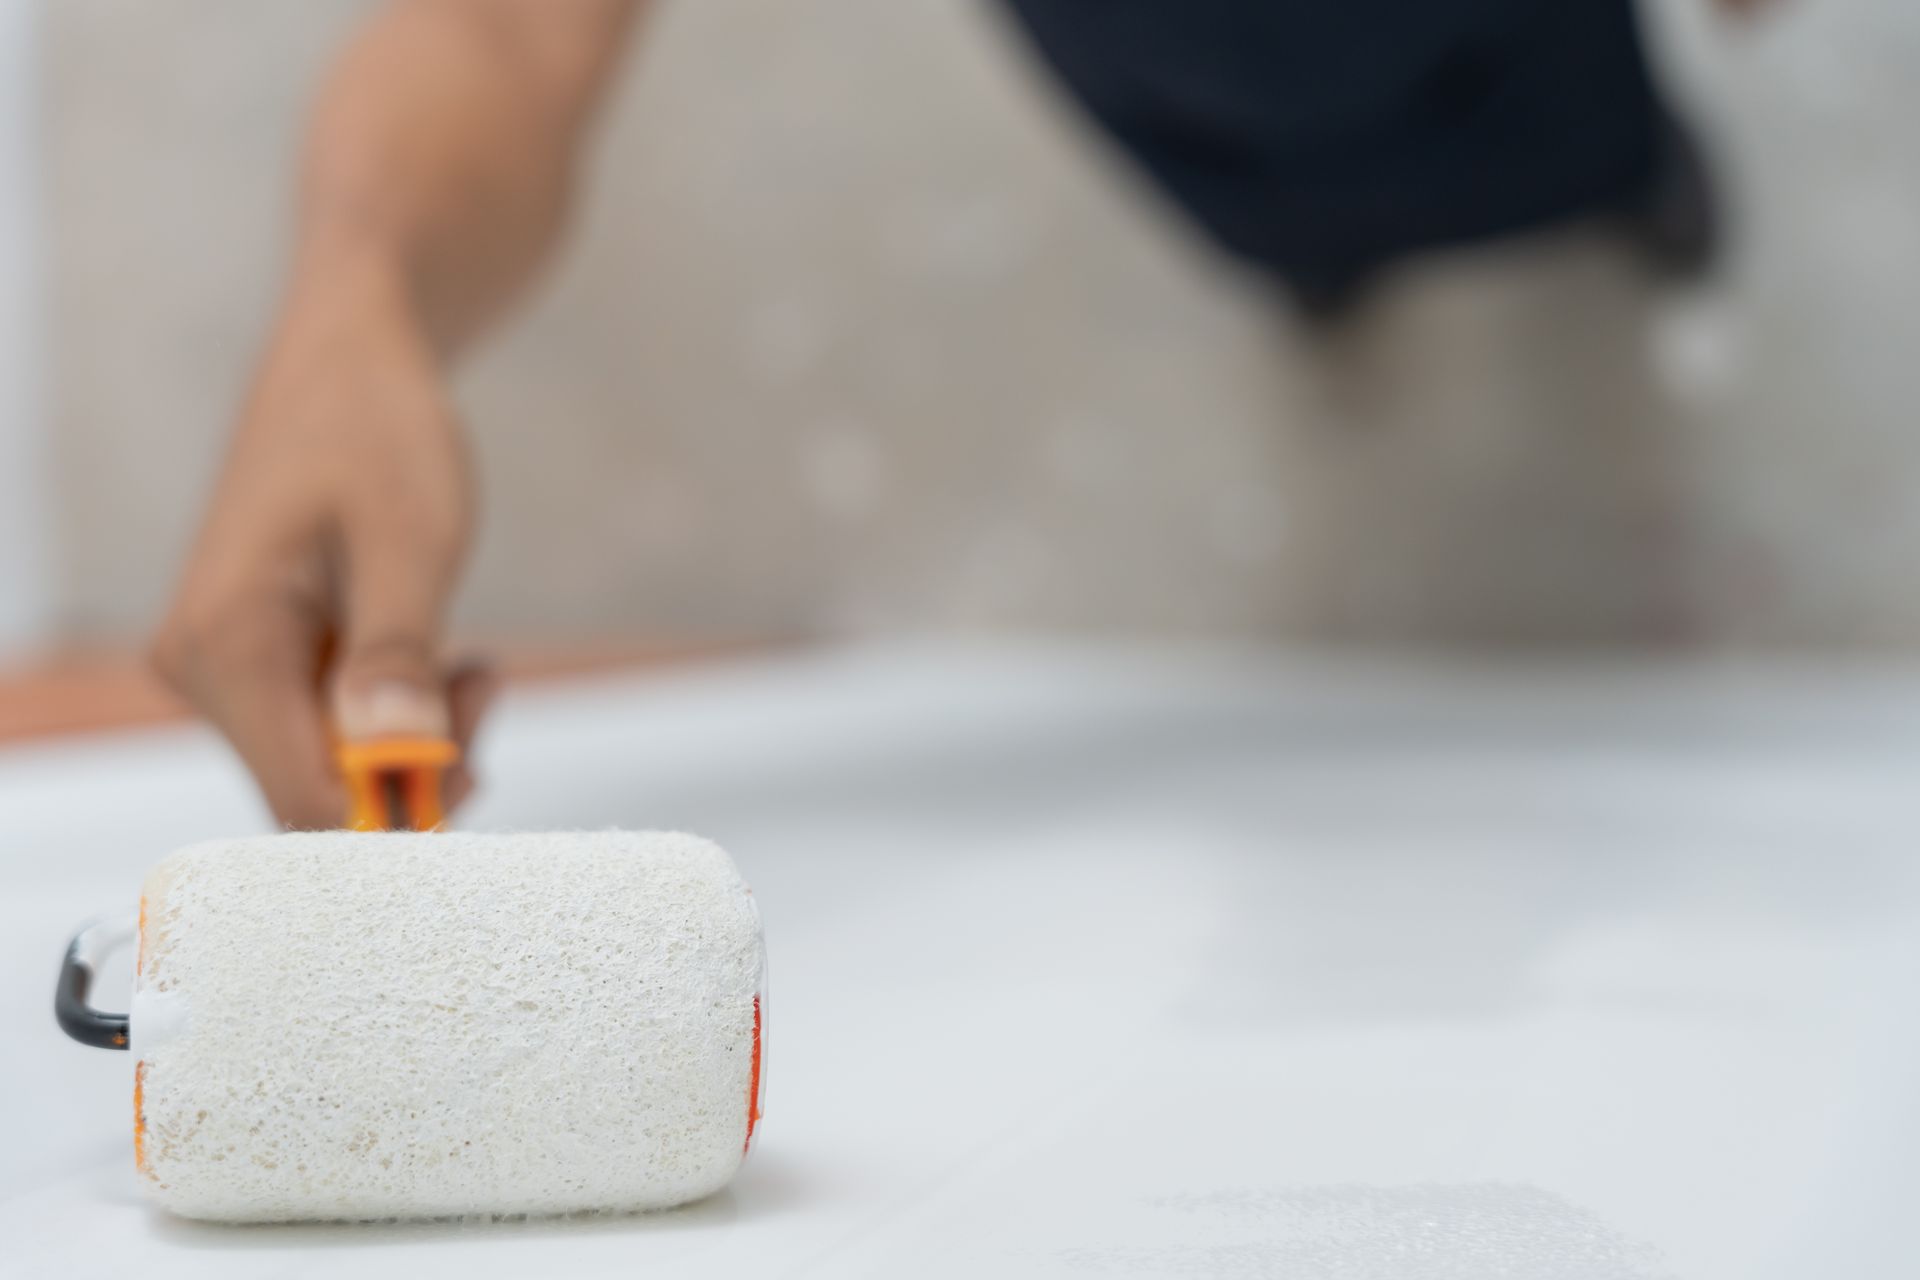
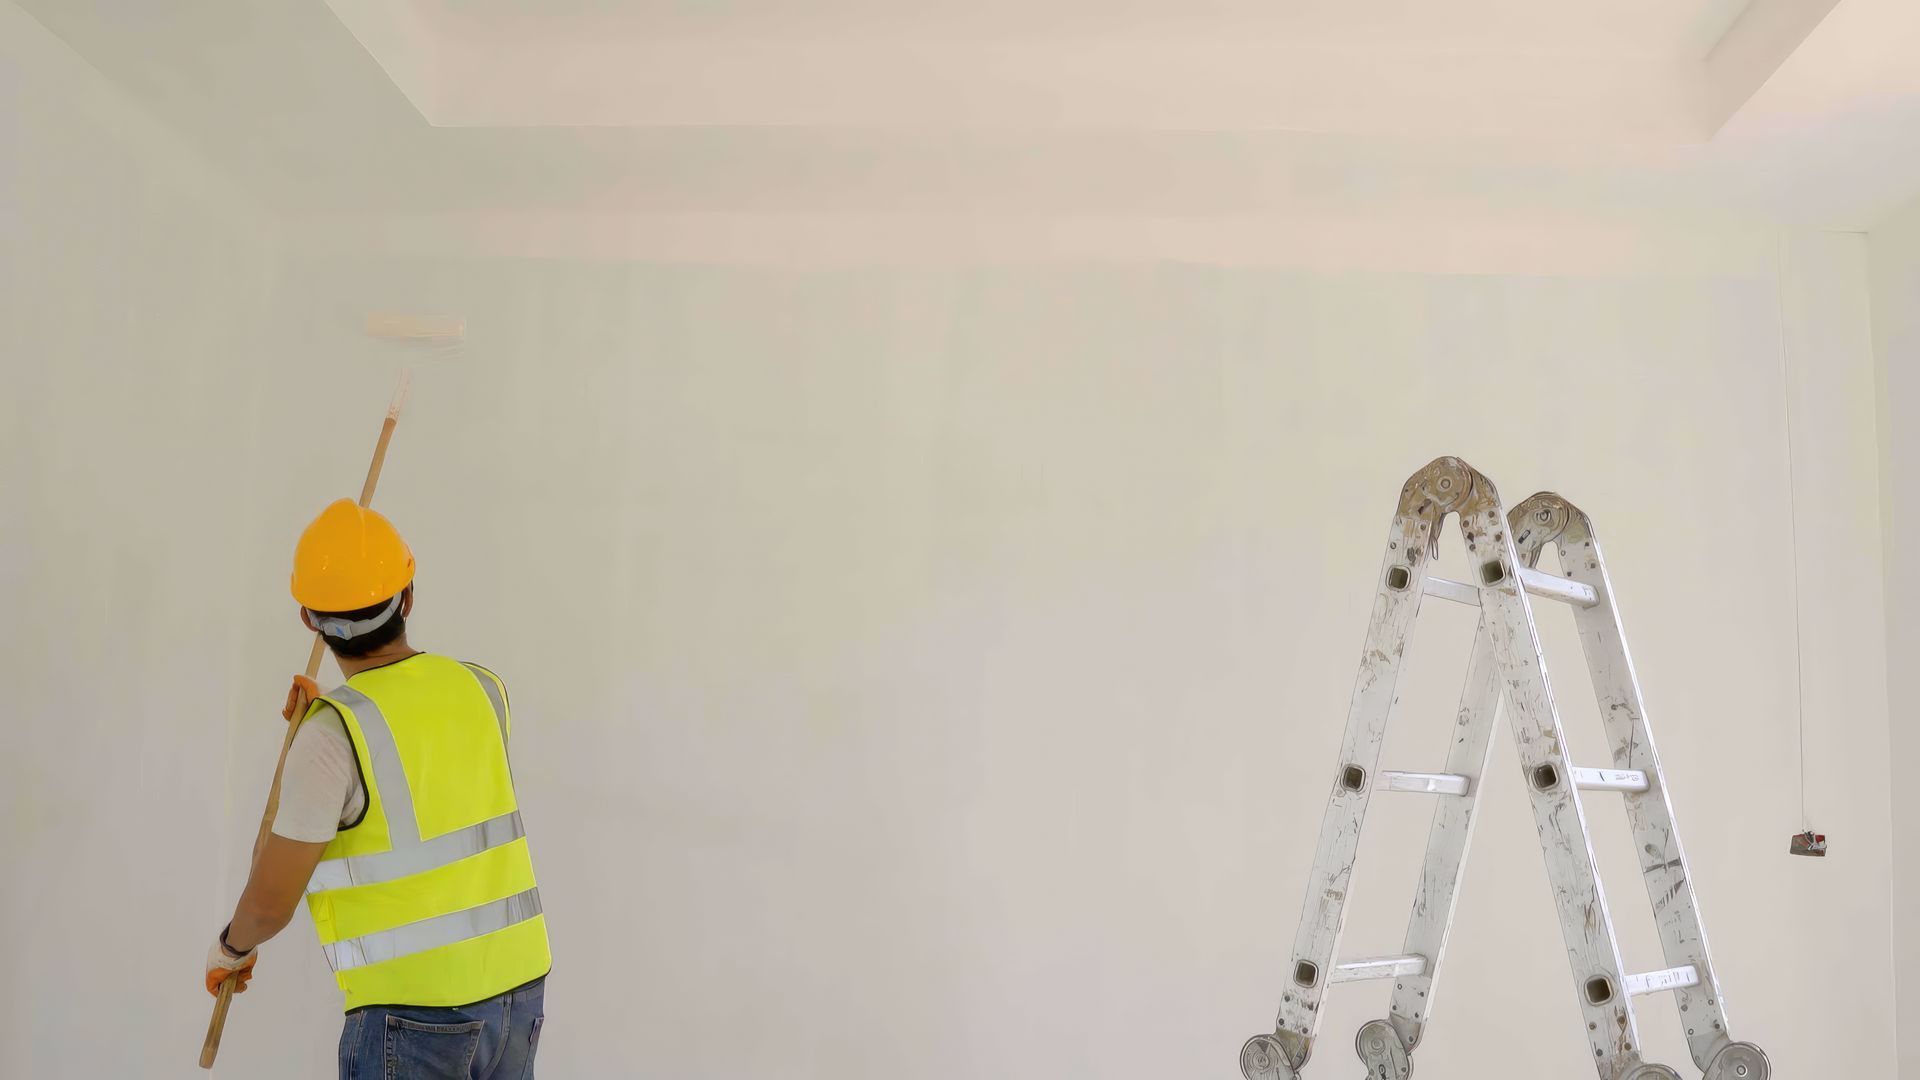
How Painters Achieve a Smooth and Even Ceiling Paint Job A ceiling can make or break a room. It’s the fifth wall, and when it’s blotchy or streaky, you notice. But when it’s done right? You won’t even think about it—and that’s the goal. Here’s how pro house painters get that perfectly smooth, even look overhead—without the roller lines, drips, or patchy spots. 1. Start With a Clean Slate Let’s be honest: ceilings are dust magnets. Before anything else, painters clean the surface. That means wiping down cobwebs, dirt, and any greasy buildup (especially in kitchens). Even a fine layer of dust can mess with paint adhesion and lead to bumps or uneven texture. Pro tip: Use a microfiber mop or sponge with warm water and mild detergent. Then let it fully dry. 2. Patch, Sand, and Skim Where Needed Every crack, ding, or nail pop will show through paint—especially on a flat ceiling. Pros don’t just paint over imperfections; they fix them first. Patching : They fill holes and cracks with lightweight spackle or joint compound. Sanding : Once it dries, the surface gets sanded smooth. No shortcuts here. Skimming : If the ceiling has uneven texture, a light skim coat might be needed for full smoothness. And yes— they sand again after priming. It’s the difference between a “decent” job and a flawless one. 3. Prime Like a Pro You wouldn’t bake a cake without prepping the pan, right? Same deal with paint. Painters always apply a quality primer to ceilings—especially if: There are patched spots It’s a new drywall ceiling There are stains or watermarks Primer evens out absorption, so your final coat stays uniform. No patchy drying. No weird discoloration. 4. Use the Right Paint—and Only the Right Paint Not all ceiling paints are created equal. Most pros stick with flat or matte finishes , which help hide imperfections and reduce glare. Glossy paint? Hard pass. It highlights every roller mark and bump. Also, painters choose ceiling-specific formulas—they’re thicker, drip less, and apply more evenly overhead. 5. Gear Up With the Right Tools Brushes and rollers matter more than you think. Professionals rely on: Angled brush for clean edges where walls and ceiling meet High-quality roller (3/8" or 1/2" nap) for consistent coverage Extension pole so they can roll without breaking their backs They also avoid cheap rollers that shed fuzz into the paint. Nobody wants ceiling lint. 6. Master the Application Technique Here’s where the magic happens. Cut in first : Painters brush around the perimeter before rolling. That avoids overlap lines. Roll in sections : They paint 4'x4' areas, working quickly to keep a “wet edge.” This prevents lap marks. Use a “W” pattern : It distributes paint evenly without leaving lines. No straight stripes—just smooth motion and even pressure. Final roll in one direction : After the section is filled, they do a light pass in one consistent direction (usually toward the window) for a uniform finish. 7. Light—and Timing—Matters Ceiling painting is often done in daylight with plenty of extra lighting. Shadows hide mistakes. Bright, angled light reveals them. And painters don’t stop mid-ceiling. They paint the whole surface in one go. Once the paint starts to dry, touching it up will absolutely leave marks. 8. Know When to Recoat—and When to Leave It Alone Ceilings usually need one good coat if you’re repainting the same color and primed properly. But new or stained ceilings? Two coats. Always. And when they’re done? Painters leave it alone. Poking at drying paint or trying to fix “just one spot” can ruin a flawless finish. The Takeaway A smooth, even ceiling isn’t about luck. It’s about prep, precision, and patience. Professionals follow a step-by-step method—every single time—to make sure the surface looks clean, uniform, and finished. So whether you're hiring painters or tackling it yourself, now you know what goes into getting that crisp, seamless look overhead. It’s not magic. It’s method.