How to Prep Your House for Interior Painting
March 5, 2024

The Ultimate Guide to Preparing Your Home for Interior Painting
Preparing your home for interior painting is a crucial step to ensure a successful and long-lasting paint job. Proper preparation not only ensures a smooth and professional finish but also helps protect your home and belongings from damage. Here is a comprehensive guide to help you prepare your home for painting:
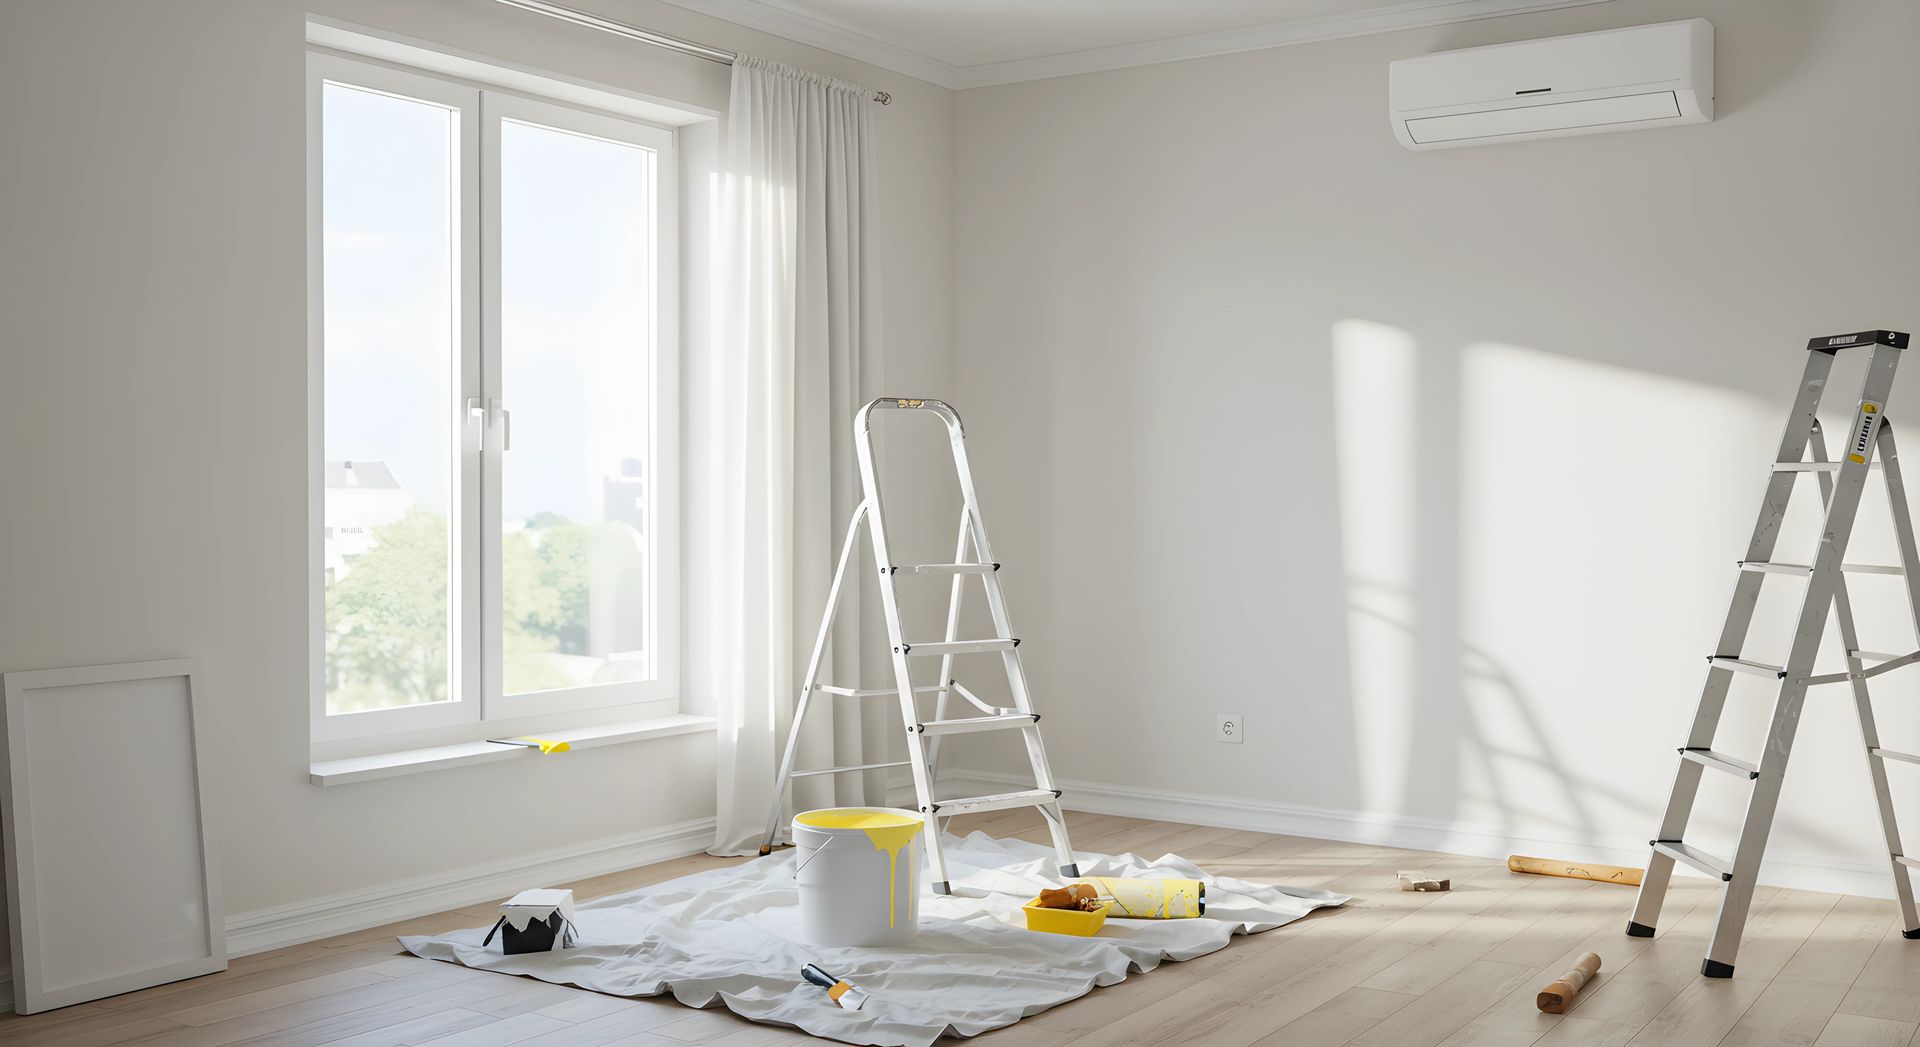
Clear the Room:
Begin by removing all furniture, decorations, and other items from the room. If it's not possible to remove everything, move items to the center of the room and cover them with plastic sheets to protect them from paint splatters and dust.
Clean the Walls:
Use a damp cloth to wipe down the walls and remove any dust, dirt, or grease. Pay special attention to areas near light switches and baseboards, as these tend to collect more dirt and grime. For stubborn stains, use a mild detergent solution and scrub gently. Allow the walls to dry completely before proceeding.
Repair Any Damage:
Inspect the walls for holes, cracks, or other damage. Fill holes and cracks with spackling compound and sand them smooth once dry. Use caulk to fill any gaps around trim or baseboards to create a smooth surface for painting.
Remove Switch Plates and Outlet Covers:
Use a screwdriver to remove switch plates and outlet covers. This will make it easier to paint around these areas and will give a cleaner finish. Be sure to label each cover so you can easily replace them later.
Protect Floors and Trim:
Lay down drop cloths to protect the floor from paint spills. Use painter's tape to mask off trim, baseboards, and any other areas you want to protect from paint. Be sure to press the tape firmly to ensure a clean line.
Prime the Walls (if necessary):
Priming the walls can help the paint adhere better and provide a more even finish, especially if you are painting over a dark color or a surface that has not been painted before. Use a high-quality primer and apply it evenly with a roller or brush.
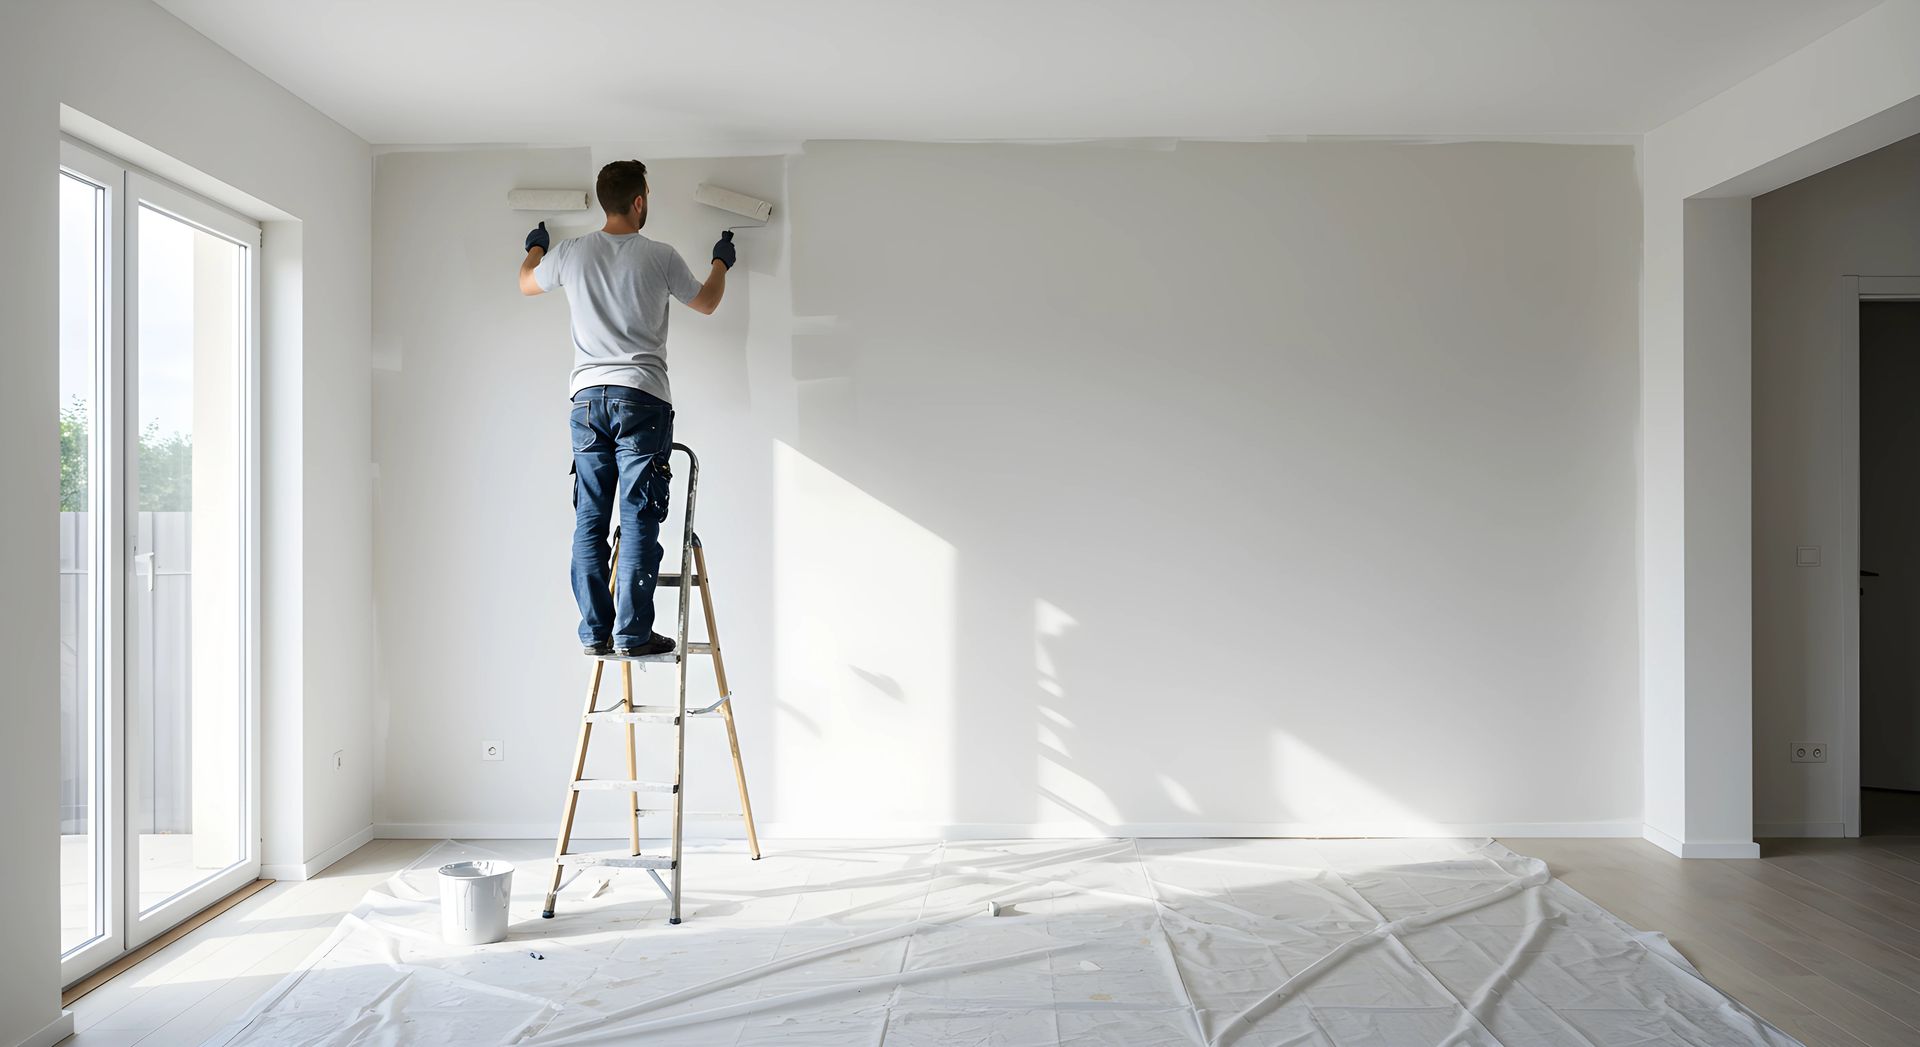
Stir and Pour Paint:
Before painting, stir the paint thoroughly to ensure an even consistency. Pour the paint into a paint tray and use a roller or brush to apply the paint to the walls, starting from the top and working your way down. Be sure to apply the paint evenly to avoid drips and streaks.
Allow Paint to Dry:
Follow the manufacturer's instructions for drying times. Once the first coat is dry, apply a second coat if necessary for full coverage. Be sure to allow each coat to dry completely before applying the next.
Clean Up:
Once the paint is dry, remove painter's tape and drop cloths carefully. Replace switch plates and outlet covers. Clean your brushes and rollers thoroughly with soap and water or paint thinner, depending on the type of paint you used.
By following these steps, you can ensure that your home is properly prepared for interior painting, resulting in a beautiful and long-lasting finish that you can enjoy for years to come.
Clean Up:
Remove painter's tape and drop cloths carefully. Replace switch plates and outlet covers once the paint is completely dry.
Following these steps will help ensure that your home is properly prepared for interior painting, resulting in a beautiful and long-lasting finish.
See the top color trends Wellington homeowners are choosing in 2025! Stay HOA-compliant while boosting curb appeal with expert tips and combos that work.
Painting in a Wellington HOA? Learn expert tips for choosing colors, getting approvals, and staying compliant. Smart advice from local painting pros.
Sell faster and for more. See how professional interior and exterior painting boosts your home's resale value — fast, affordable, and high ROI.