How Long Does it Take a Professional Painter to Paint a House?

February 15, 2024
A Comprehensive Guide to Understanding the Timeline for Professional House Painting
When it comes to professional house painting projects, homeowners often inquire about the duration. Understanding the various factors that influence the timeline is crucial for planning purposes. Let's delve into these factors and how they affect the duration of a painting project.

House Size:
The size of the house plays a significant role in determining the painting timeline. Larger homes naturally require more time for thorough coverage. Professional painters carefully assess the size of the house to provide an accurate estimate of the project's duration.

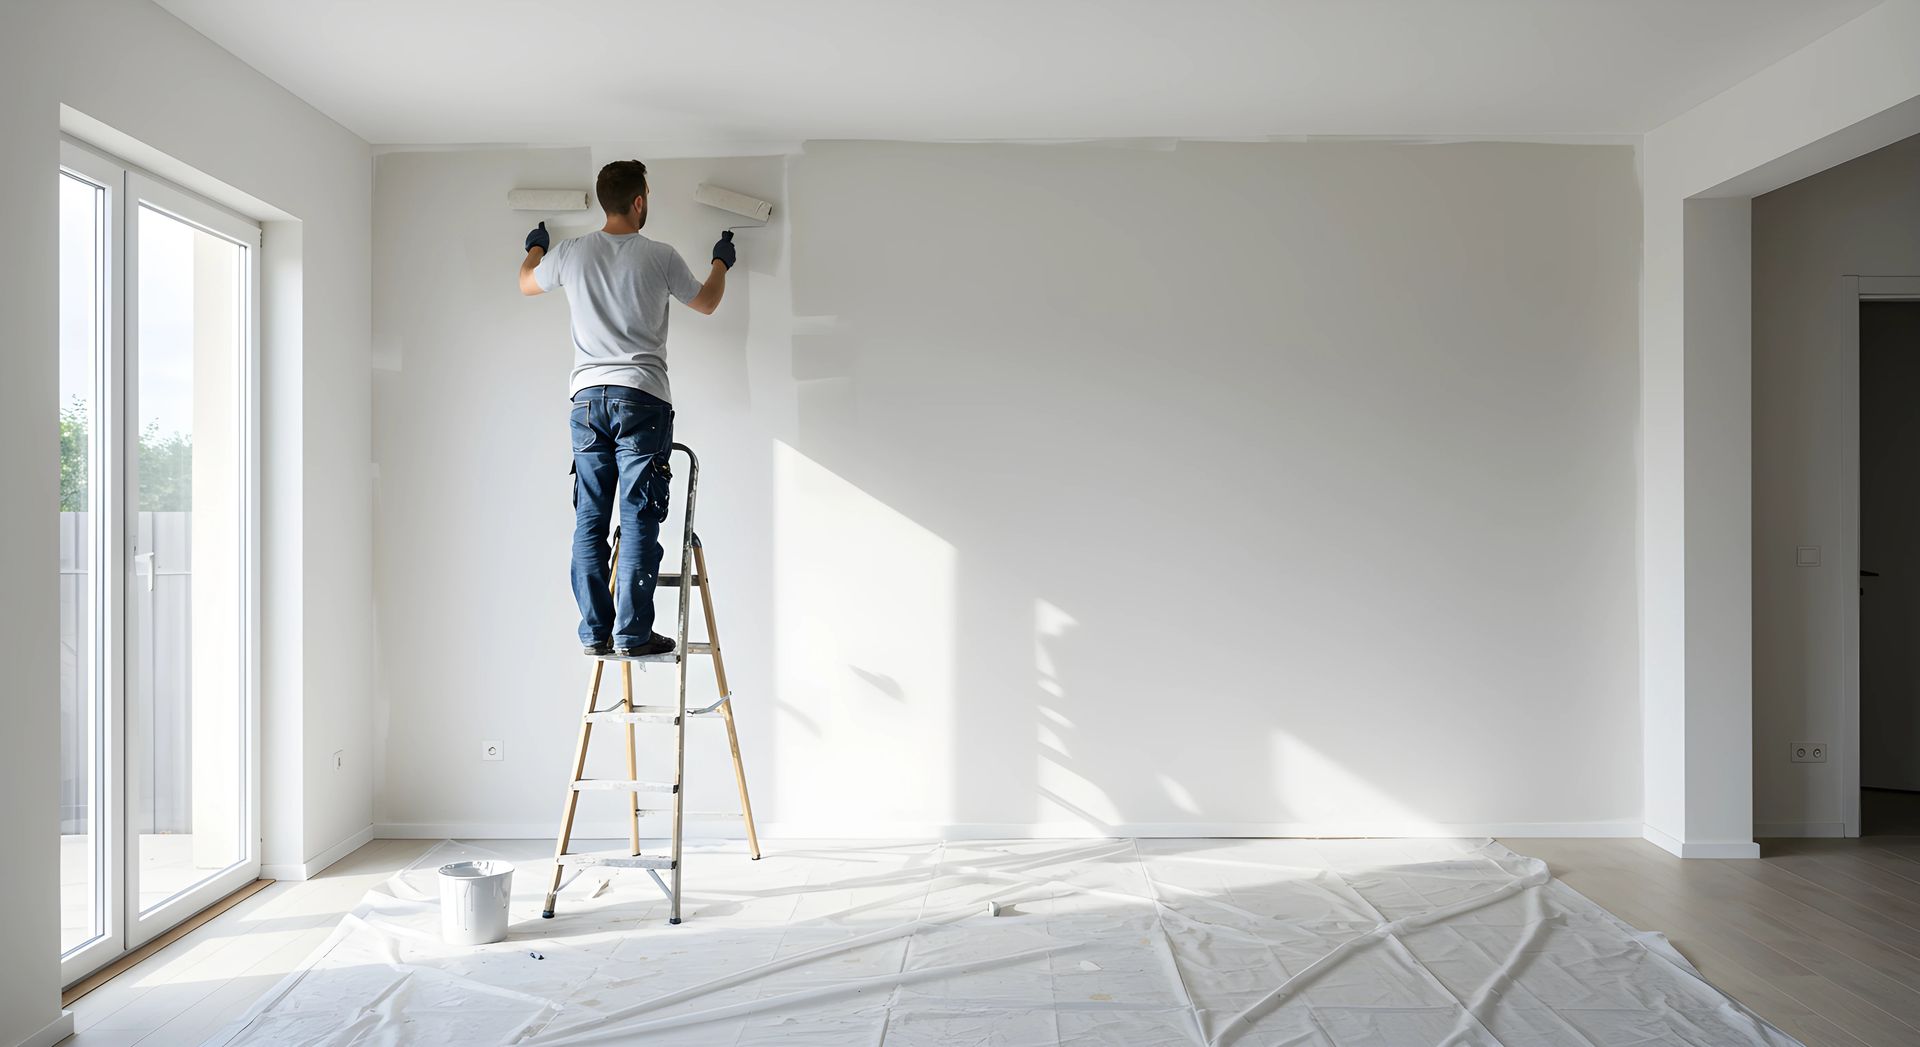
Complexity of the Project:
The complexity of the painting job is another critical factor to consider. Elements such as the number of rooms, ceiling height, and intricacy of trim work can impact the timeline. Rooms with unique angles or hard-to-reach areas may require additional time and attention to ensure a high-quality finish.

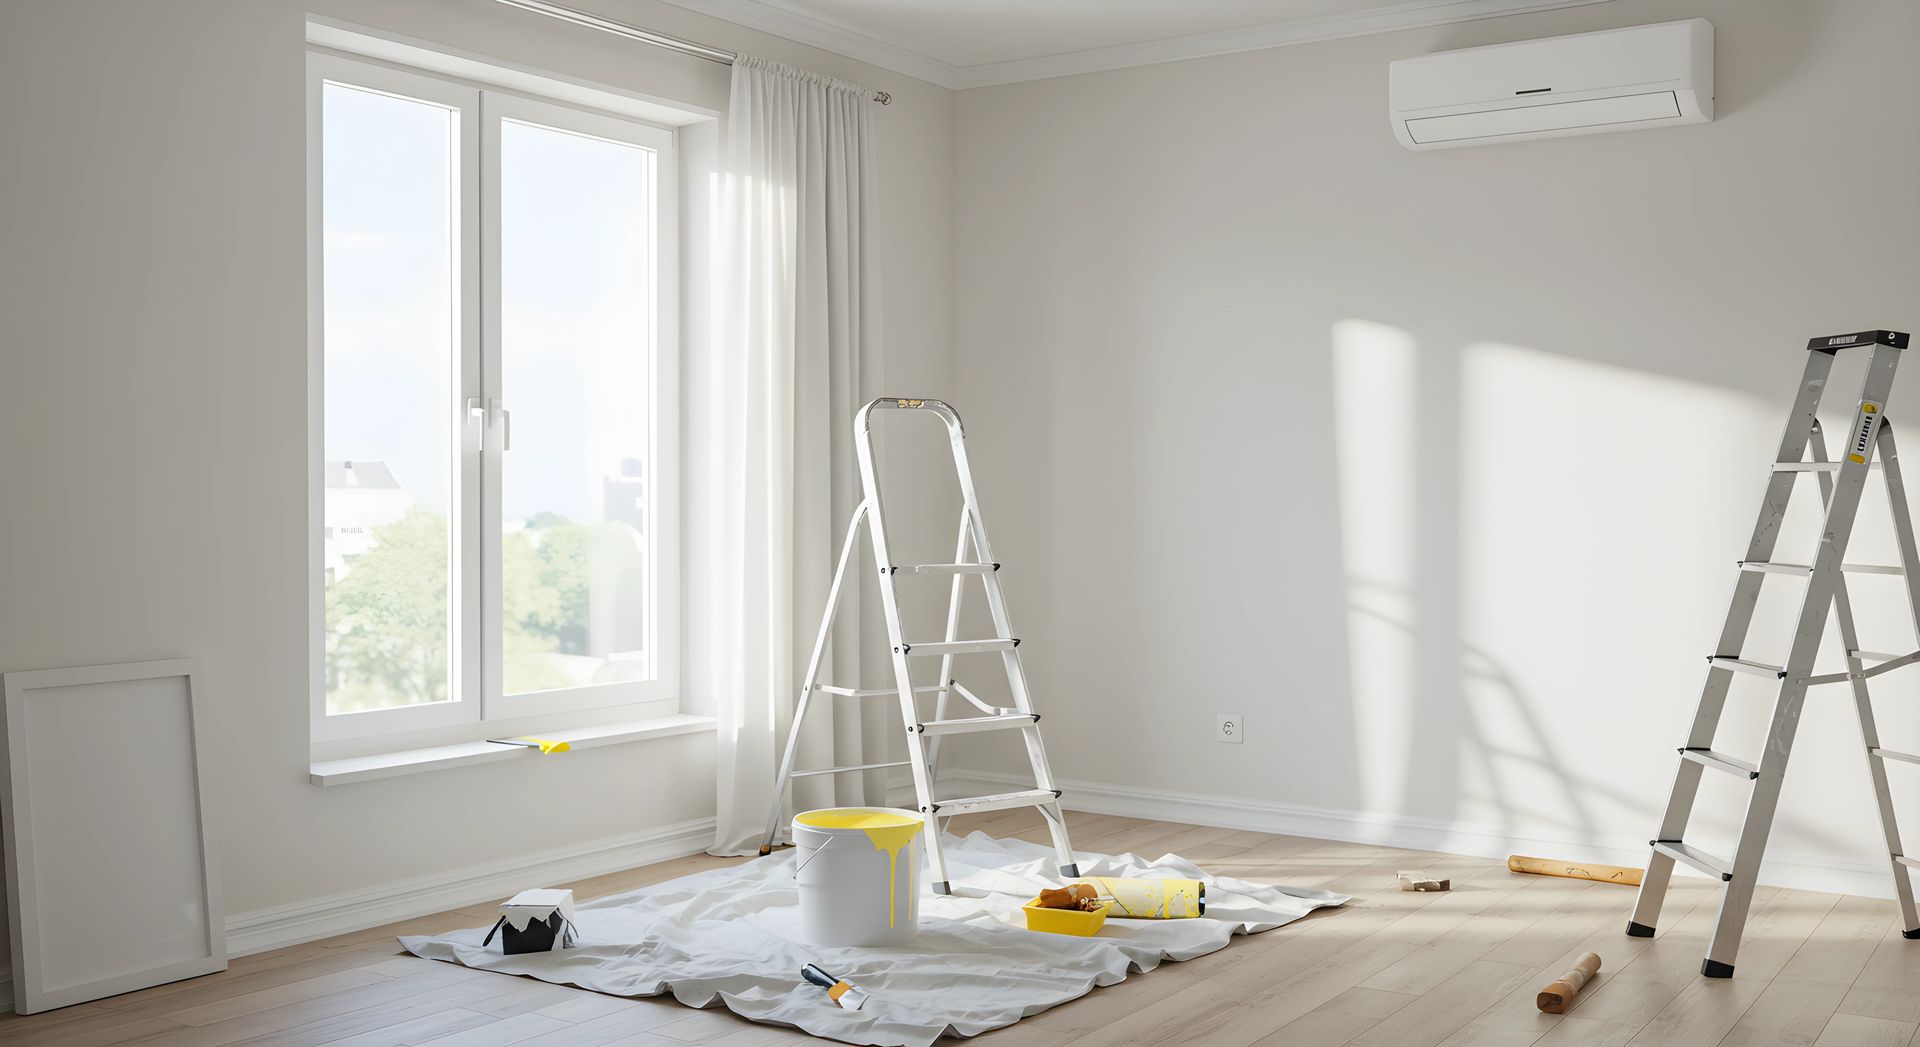
Surface Preparation:
Proper surface preparation is essential for achieving a flawless result. This includes cleaning, repairing, and priming surfaces as necessary. The condition of the surfaces greatly influences the duration of the project, as thorough preparation may take additional time.

Number of Coats Required:
The number of coats of paint needed also affects the timeline. While most interior projects typically require two coats for proper coverage and durability, certain factors may necessitate additional coats. For instance, darker colors or surfaces with significant imperfections may require extra layers, extending the duration of the project.

Drying Time:
Adequate drying time between coats is crucial for achieving a professional finish. Paint must fully dry before additional coats can be applied or before furniture can be moved back into the room. Drying times vary depending on factors such as temperature, humidity, and ventilation.
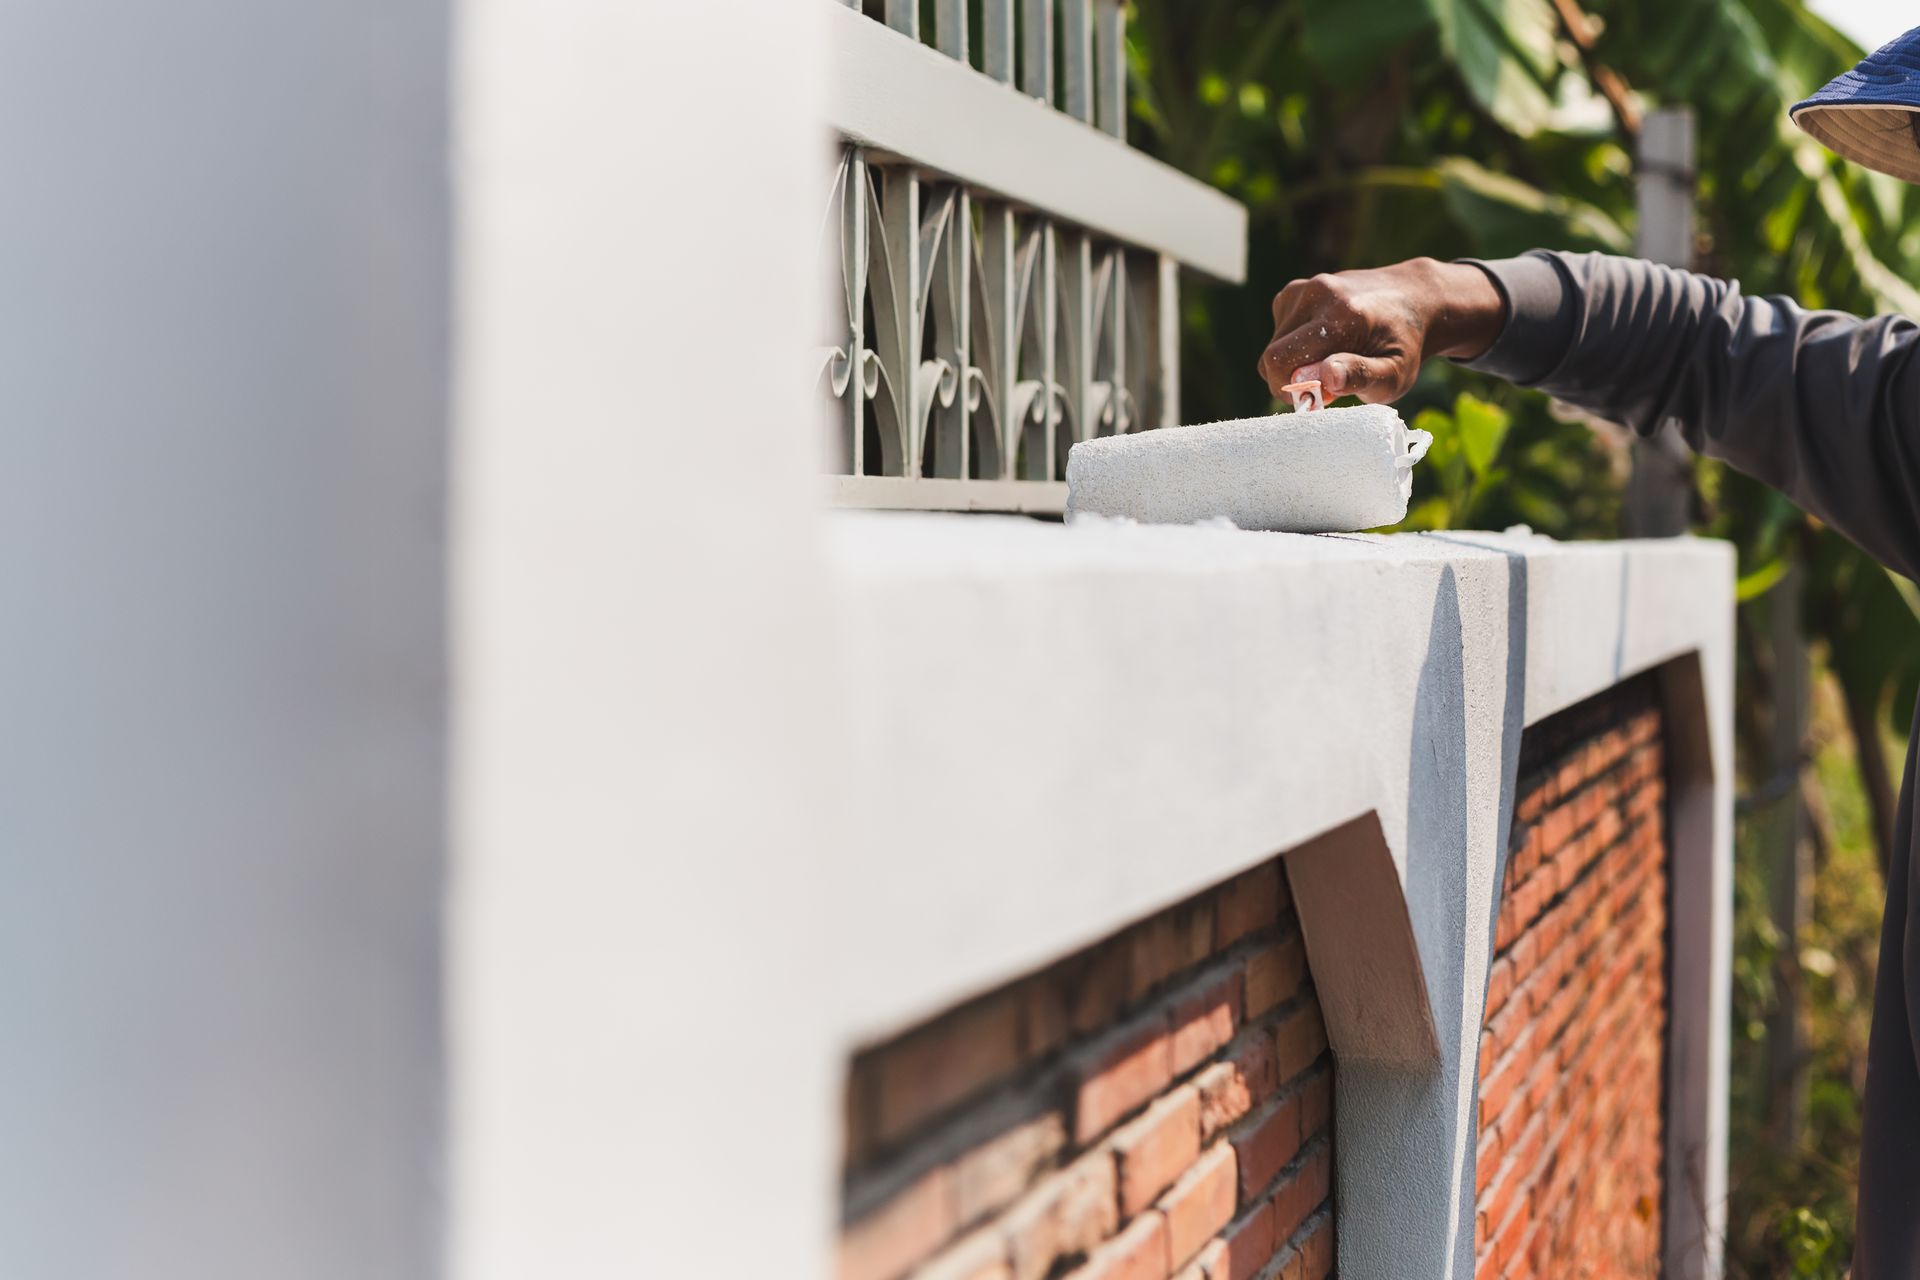
Weather Conditions:
Weather conditions can significantly impact exterior painting projects. Ideally, painting should be done during dry, mild weather to ensure optimal paint adhesion and drying. Adverse weather conditions, such as rain or extreme heat, can affect the quality of the finish and prolong drying times.

Conclusion:
The timeline for professional house painting projects is influenced by various factors including the size of the house, the complexity of the project, surface preparation needs, the number of coats required, drying times, and weather conditions. While smaller projects may be completed relatively quickly, larger or more complex projects may take longer to ensure a high-quality result. By understanding these factors and consulting with professional painters, homeowners can receive an accurate estimate of the project duration and plan accordingly. Investing in professional painting services can enhance the appearance of your home and provide long-lasting results.  At Hometown Wellington House Painting, we specialize in meeting all your house painting requirements, whether it's interior or exterior painting.

Call Us
April 16, 2025
How Painters Achieve a Smooth and Even Ceiling Paint Job A ceiling can make or break a room. It’s the fifth wall, and when it’s blotchy or streaky, you notice. But when it’s done right? You won’t even think about it—and that’s the goal. Here’s how pro house painters get that perfectly smooth, even look overhead—without the roller lines, drips, or patchy spots. 1. Start With a Clean Slate Let’s be honest: ceilings are dust magnets. Before anything else, painters clean the surface. That means wiping down cobwebs, dirt, and any greasy buildup (especially in kitchens). Even a fine layer of dust can mess with paint adhesion and lead to bumps or uneven texture. Pro tip: Use a microfiber mop or sponge with warm water and mild detergent. Then let it fully dry. 2. Patch, Sand, and Skim Where Needed Every crack, ding, or nail pop will show through paint—especially on a flat ceiling. Pros don’t just paint over imperfections; they fix them first. Patching : They fill holes and cracks with lightweight spackle or joint compound. Sanding : Once it dries, the surface gets sanded smooth. No shortcuts here. Skimming : If the ceiling has uneven texture, a light skim coat might be needed for full smoothness. And yes— they sand again after priming. It’s the difference between a “decent” job and a flawless one. 3. Prime Like a Pro You wouldn’t bake a cake without prepping the pan, right? Same deal with paint. Painters always apply a quality primer to ceilings—especially if: There are patched spots It’s a new drywall ceiling There are stains or watermarks Primer evens out absorption, so your final coat stays uniform. No patchy drying. No weird discoloration. 4. Use the Right Paint—and Only the Right Paint Not all ceiling paints are created equal. Most pros stick with flat or matte finishes , which help hide imperfections and reduce glare. Glossy paint? Hard pass. It highlights every roller mark and bump. Also, painters choose ceiling-specific formulas—they’re thicker, drip less, and apply more evenly overhead. 5. Gear Up With the Right Tools Brushes and rollers matter more than you think. Professionals rely on: Angled brush for clean edges where walls and ceiling meet High-quality roller (3/8" or 1/2" nap) for consistent coverage Extension pole so they can roll without breaking their backs They also avoid cheap rollers that shed fuzz into the paint. Nobody wants ceiling lint. 6. Master the Application Technique Here’s where the magic happens. Cut in first : Painters brush around the perimeter before rolling. That avoids overlap lines. Roll in sections : They paint 4'x4' areas, working quickly to keep a “wet edge.” This prevents lap marks. Use a “W” pattern : It distributes paint evenly without leaving lines. No straight stripes—just smooth motion and even pressure. Final roll in one direction : After the section is filled, they do a light pass in one consistent direction (usually toward the window) for a uniform finish. 7. Light—and Timing—Matters Ceiling painting is often done in daylight with plenty of extra lighting. Shadows hide mistakes. Bright, angled light reveals them. And painters don’t stop mid-ceiling. They paint the whole surface in one go. Once the paint starts to dry, touching it up will absolutely leave marks. 8. Know When to Recoat—and When to Leave It Alone Ceilings usually need one good coat if you’re repainting the same color and primed properly. But new or stained ceilings? Two coats. Always. And when they’re done? Painters leave it alone. Poking at drying paint or trying to fix “just one spot” can ruin a flawless finish. The Takeaway A smooth, even ceiling isn’t about luck. It’s about prep, precision, and patience. Professionals follow a step-by-step method—every single time—to make sure the surface looks clean, uniform, and finished. So whether you're hiring painters or tackling it yourself, now you know what goes into getting that crisp, seamless look overhead. It’s not magic. It’s method.
Exterior Painting
March 11, 2025
Peeling and cracking paint isn’t just an eyesore—it’s a warning sign. It means your home’s exterior isn’t properly protected. Left unchecked, damaged paint can expose your siding to moisture, mold, and even structural issues.
House Repainting
March 1, 2025
Wondering how often to repaint your home? Learn the key signs that it's time for a fresh coat, plus expert tips to keep your interior and exterior looking great.
Show More